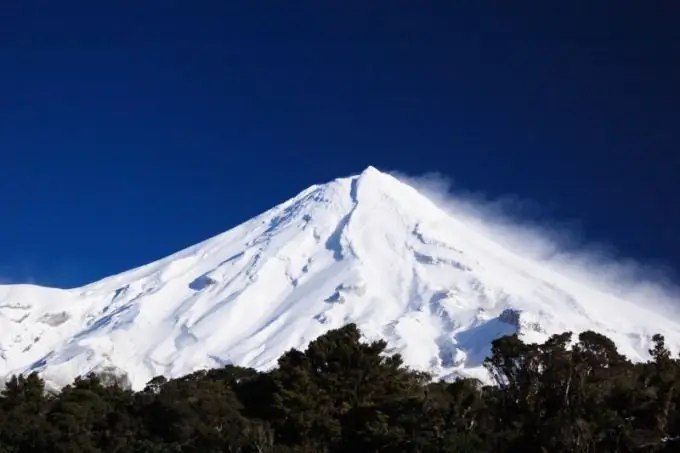
Making models is an exciting activity that can not only keep your child busy for a long time, but also help him to master the geography. This type of creativity develops imagination and fine motor skills of the hands. Layouts can be of different sizes, but in any case, you must try to accurately scale. In the future, it will be possible to beat him.

It is necessary
- - a geographical map of the area with contours marked on it;
- - video projector;
- - Printer;
- - paper for printer;
- - glass;
- - lamp;
- - tracing paper;
- - pictures with mountain landscapes that you sculpt;
- - sculptural plasticine;
- - sheet plastic;
- - newsprint or cardboard egg tray;
- - paste;
- - water-based paint;
- - oil paints.
Instructions
Step 1
Find a map of the mountain system you need. Both paper and electronic are suitable, only the methods for making patterns will be different. In any case, determine the height of the relief section, that is, the distance between the contours in height. The thickness of each plasticine layer depends on this.
Step 2
Make patterns. There should be as many of them as contour lines. If you're using Adobe Photoshop, select the area inside the top-most contour and fill it with any color. Remove unnecessary lines outside this area. Make the same pattern for the rest of the layers, limited by brown curved lines. For the second path, erase the smallest such line, fill the area and delete the extra lines from the outside. Print and cut out the patterns.
Step 3
If you have a paper map, it should be more or less large scale. In this case, use the traditional method. Attach the card with tape to the glass, highlight it from the back, trace the contours of the contours on tracing paper or any other transparent paper and cut them out. It is most convenient to draw with a helium pen.
Step 4
Place the first layer of play dough on the plastic sheet. It should be flat and in shape to match the contour of the lowest horizontal. Excess material can be removed with a stack. At the first moment, the edges will turn out to be strictly vertical. You will smooth them out later.
Step 5
Add the outline of the second pattern to the plasticine layer and circle it with a stack. Remember to check the map. The contours should be in relation to each other in the same way as they are drawn on the map. Apply a second layer of clay along the contours. Blind all other layers in the same way. Make sure they are even across the entire surface.
Step 6
Smooth the edges gently. Make smooth transitions from layer to layer. Look at pictures with mountain landscapes and try to convey the features of the relief of this area as accurately as possible.
Step 7
Cover the plasticine mockup with small pieces of paper. Apply the first layer without glue, so that the new layer can be easily removed in the future. Glue the next layers on starch paste or PVA. Overlay four or five of them to make the layout sturdy but not particularly thick.
Step 8
Let the model dry, then remove the clay. Go over the outside with fine sandpaper. Prime your creation with water-based paint. Color the layout by referring to the map and landscape photos. Cover the layout with varnish.


