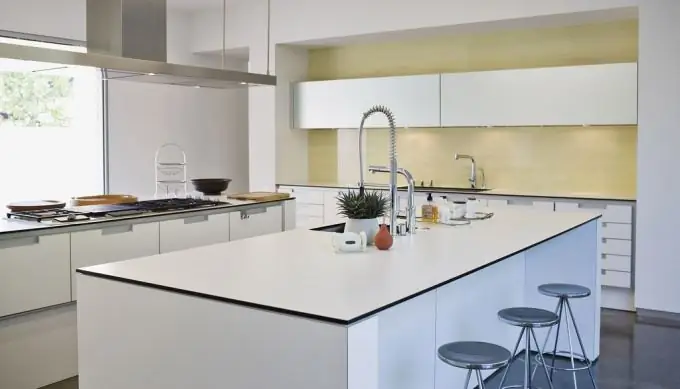
Capturing the perfect photo of an interior with modern equipment is not a difficult task. It is much more difficult to make such a picture vivid, interesting and fill it with appropriate emotions.

Instructions
Step 1
A 35mm camera is almost never used for interior photography. To get a good shot, you need a medium or wide format.
Step 2
There are several ways to convey the sense of space that is present in the interior on a flat photograph. The first is using a wide angle lens. These lenses provide an angle of view from 60 degrees and above, which allows you to cover significantly more area in the frame.
Step 3
If the use of a wide-angle lens is impossible for some reason, you can use the panorama (stitching) technique. Panoramic shots can be taken hand-held (standing in one place and turning only with your torso) or using a tripod. AF and exposure must be locked before shooting. Shooting should be done with a slight "overlap" - overlap about 1/3 of the shot on 1/3 of the previous one. Horizontal panoramas are best shot vertically, while vertical ones are best shot horizontally. You can combine frames into a panorama in Photoshop, Panorama Factory or PTGui.
Step 4
A tripod is something that no interior photography can do without. Using a tripod allows slow shutter speeds to be used with a small aperture opening, which has the advantage of conveying a greater depth of field in the frame.
Step 5
An interior with perfect natural light is the exception rather than the rule. Therefore, during interior photography, special attention should be paid to working with light. It is advisable to look at the room before shooting in order to decide how many light sources you need. Any available equipment will come in handy - from a flash to a soft box. If you don't have much equipment, then you can use the following trick - after opening the shutter at a long exposure, the photographer or assistant begins to highlight objects and areas of the interior that are in the frame (clothes must be of light colors).
Step 6
When you start shooting, try to find and capture the most interesting angles of the room, try to capture its "character" - this will help determine the most successful points for shooting.
Step 7
Be attentive to detail - in order not to burden yourself with unnecessary work on post-processing photos, be aware of what gets into the lens - the view from the window, the TV, portraits and books on the shelves - all this will be much more difficult to remove from the frame afterwards. Also, keep a close eye on the perspective - the walls should not fall over and create the effect of the Leaning Tower of Pisa.


