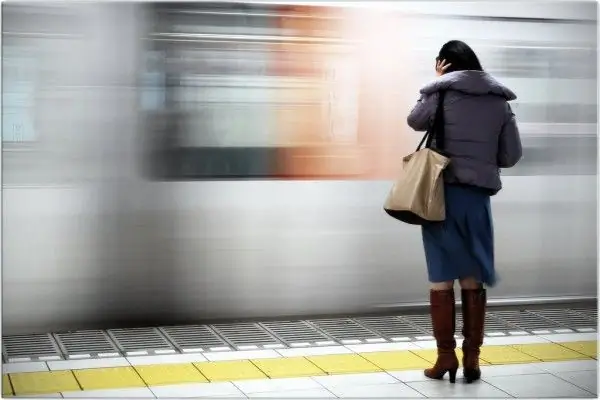
To achieve various creative goals, we often use non-standard photo processing techniques. For example, it is generally believed that a good photo should be sharp, clear, and well-detailed. But what if the author wants to convey a completely different mood? If you want to convey a feeling of uncertainty, fog, ambiguity, doubt, etc.? In this case, you can give up the usual rules and make the photo blurry.

It is necessary
Photo, Adobe Photoshop
Instructions
Step 1
You can blur the photo in whole or in part. Leaving a small section of a photo clear can add a lot of expression to it. Open the photo you need in Adobe Photoshop and create a copy of the "background" layer. Name the copy "1". This layer is designed to work.
Step 2
We will be using the blur tool. It's in the tools menu, and its icon looks like a blob. Set the intensity to 100% if you are going to blur the photo very hard. If your goal is a slight blur, reduce the intensity of the tool. Use a large brush for larger areas. If you need to work out small details, set a smaller brush size. The blurring process itself is very simple: use the necessary tool to drag over the places that you want to make it less clear.
Step 3
If you are going to blur the picture not entirely, but only partially, make sure that in the end the photo does not look repulsive. Do all your brush strokes very carefully. In a few minutes, the result will be ready. Save the resulting image. Now your photo looks more interesting and artistic.
Step 4
If you've blurred the photo too much, don't try to fix it with the Sharpen tool. This will only ruin your work completely. Cancel the action. However, if you have done something wrong a long time ago and it is no longer possible to undo this action, you will have to delete layer "1". We'll have to create a new copy of the "background" layer and do everything again. Be careful this time.


