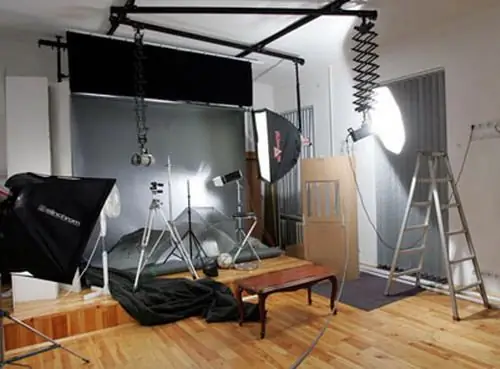
Studio photography has many advantages over normal everyday photography. In the studio, you can portray any image and any role, shoot the shot that you have always dreamed of shooting, and in studio lighting conditions you have a lot of space for creative play with light sources in the frame. To make a studio photo really high quality, there are not enough lighting fixtures and studio background - you need to know certain rules of studio shooting.

Instructions
Step 1
When shooting in a studio, forget about all the automatic shooting modes on your camera. Always set to Manual for correct exposure metering and reduce ISO as low as possible - it should be as low as possible so that there is less noise in the frame.
Step 2
Studio shooting is a rather specific tool for displaying a human appearance, and therefore, in order for a person in a photograph to turn out beautifully and attractively, you need to take certain actions on his appearance before shooting.
Step 3
The model should be well-made up and the face should be powdered to avoid glare and glossy skin from flash. Also, think over in advance what kind of scenes and images you want to see in the finished photographs, and distribute the shooting time for several different conceived images. Prepare props, backgrounds and required filters in advance.
Step 4
By photographing a production with a certain model, you can establish the common and beautiful “High key” lighting effect. To do this, take a pure white background, direct bright lighting to the background, and a soft diffused light on the model's face. Change the position of the softbox lights and spotlights so that they evenly illuminate the desired parts of the figure.
Step 5
To make the photos more original and interesting, use the additional capabilities of the studio - turn on the smoke cannon, install multi-colored filters and direct them so that beautiful reflections of the corresponding shades appear on the hair and clothes of the model.
Step 6
If you install a color filter on the backlight, you will get an unusual and beautiful glow of the desired color around the hair and figure of the model.
Step 7
Experiment with lights, backgrounds, props, and shooting settings - and you'll end up with extraordinary, high-quality footage.


