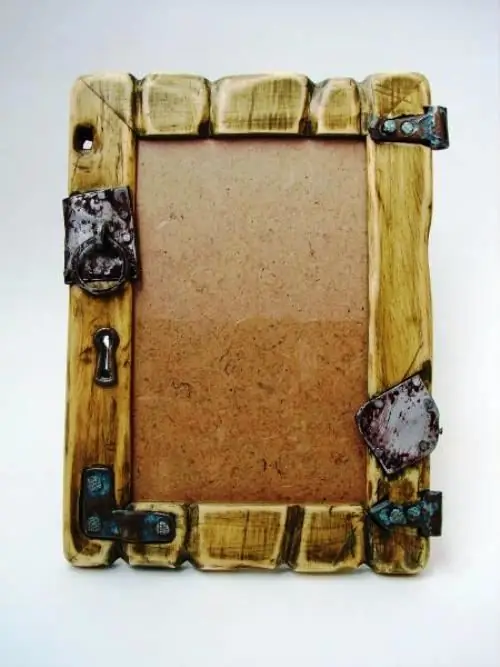
Photos have long entered our lives with confident steps. But if earlier photography was only an object that allows you to capture a certain moment in someone's life, now photography is also becoming a fashionable element of decor that can decorate any room. All that is needed for this is to put the photo in a beautiful and original photo frame, or to decorate the frame yourself with the help of materials at hand.

Instructions
Step 1
With the expectation of future "modernization", buy a frame at least one and a half times larger than the photo itself. Why is this done? You can insert a blank sheet of white paper into the frame, and glue the photo on it exactly in the center. You can create a lot of fun with a white area around your photo to decorate the frame.
Step 2
Decorating the frame with mirror pieces. Framed by mirrored squares, triangles and rhombuses, the photos look very original. For such a decoration, you can use an old mirror, which Congenital economy did not allow you to throw out. However, cutting the mirror at home is unlikely to work. It is better to take it to the workshop, where professional glass cutters will help you. You can also buy a ready-made set with small mirrors. Pieces of the mirror can be "planted" on plasticine, stuck to the frame, on clay or salt dough.
Step 3
Decorating frames with ribbons. Just take out some satin colored ribbons and carefully glue them to the frame. The ends of the ribbons can be tied on the outside with a nice bow or glued to the back of your photo. Here it is easier to use a frame not made of glass with a tree, but a cardboard one, possibly made by hand. But you can also glue the ribbons on the glass frame, but without the wooden frame.
Step 4
Original background. If you have frames that are slightly larger in size than the photos themselves, you can fill the "extra" space with the background. Take, for example, a page from a book, a newspaper sheet, or even a page from a music book. Try experimenting with a specific background for your photo. For example, for a wedding photography, you can pick up a page from a book about family life as a background, for a vacation photo - an appropriate landscape cut from a newspaper or an unnecessary magazine, and so on in a similar vein.
Step 5
There are such children's prints that kids love very much. They leave small color print prints all over the place. Captivate your child with the design of the photo frame - let him do everything the way he wants. And then put a photo of your beloved child in a frame designed by him.
Step 6
Here's another method that is as original as it is simple. Take a marker with a ruler and trace the background with black stripes. It will turn out to be a kind of "zebra". Take a few steps back and look at your piece of art from a distance. Elegant, isn't it? Now experiment by drawing black polka dots, checkerboard squares, zigzags and more on another blank sheet of paper for the background. For children's photos, it is better to take bright colored markers.


