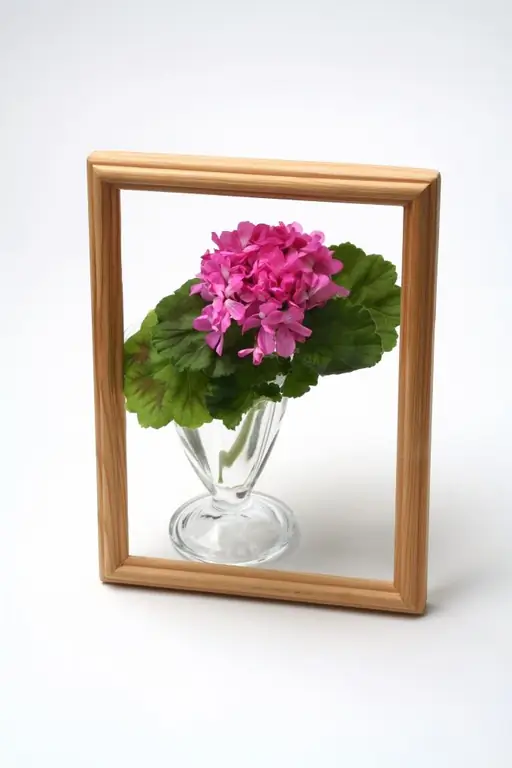
Beautiful framed photographs that adorn the walls and shelves fill the home with coziness and create a warm family atmosphere. It is especially fun to create do-it-yourself photo frames. Having bought a simple wooden frame, you can decorate it with any available materials and become the owner of a truly exclusive jewelry.

It is necessary
- - wooden frame with a flat surface;
- - universal glue;
- - acrylic paints;
- - brush;
- - clear nail polish;
- - decorative elements (beads, buttons, sand, etc.);
- - gypsum solution;
- - a cup of water;
- - sponge;
- - a plastic spatula or knife.
Instructions
Step 1
There are many ways to decorate a photo frame - it all depends on your imagination and sleight of hand. For example, you can paint the frame with acrylics. Perhaps the most popular way to decorate photo frames is by gluing various accessories. For this, bright wrapping paper, shells, small pebbles, dried leaves and flowers, feathers, beads, beans, pumpkin seeds, buttons and even pieces of plastic cards are suitable. Think in advance what the design of your photo frame will be, and select the appropriate materials. This decoration, in principle, can be limited to.
Step 2
If you decide to decorate the frame with acrylic paints, then first draw a sketch of the future drawing with a thin pencil. Coins of various diameters, small leaves can be used as stencils. Then paint the workpiece, dry it.
Step 3
You can do without coloring: in this case, just glue decorative elements (beads, buttons, shells, dried flowers) on the wooden base. They can be glued completely chaotically, or you can think over and lay out some interesting pattern in advance. By the way, the decorative ornament will look no worse on the painted frame. On the contrary, color is an important element of style, so think over the color scheme and feel free to stick the decor over acrylic paints.
Step 4
The original option for decorating a photo frame is finely chopped old plastic cards. Pre-coat the wooden frame with acrylic paint. In any order, glue the cut-off cards tightly onto the frame. Cover the finished composition with varnish.
Step 5
Every house has a box with a variety of buttons. Try decorating your photo frame with a mosaic of buttons. Glue the buttons carefully to the wooden frame at about the same distance from each other. When the glue is dry, prepare a thick plaster mortar. Using a plastic spatula, apply plaster mortar to the frame and carefully smooth the surface. Use a damp sponge to remove traces of plaster from the buttons, wait until the solution hardens. Paint the buttons with acrylics as your imagination dictates.
Step 6
As a final decorative addition, apply some glue to the individual parts of the frame. Sprinkle with sand, glitter, or some other fine grain. After the glue dries, shake off excess with a brush.


