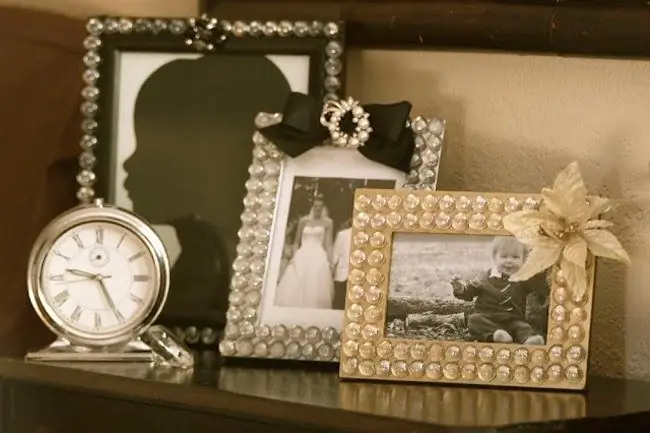
An elegant frame for photography, embroidery or painting can be purchased at a gift or antique shop. But it is much more interesting to make this little thing with your own hands. Perhaps you will like the process so much that it will turn into a full-fledged hobby.

It is necessary
- - thick cardboard;
- - ruler;
- - pencil;
- - paper knife;
- - the cloth;
- - scissors;
- - accessories for decoration;
- - ceiling baguette;
- - glue gun;
- - synthetic winterizer;
- - sealant;
- - skin;
- - paints and a brush.
Instructions
Step 1
The most inexpensive way is to make a frame out of sturdy cardboard. Determine the size of the future product. On a sheet of thick cardboard, draw a rectangle of the desired height and width. Mark a window in the middle for the photo. The cardboard frame should not be too narrow.
Step 2
Cut out a cardboard blank and cover it with decorative fabric - velvet, taffeta or heavy cotton. Choose the color and pattern of the fabric depending on the interior and the nature of the photo. For example, children's photographs and drawings can be framed with a funny printed or checkered fabric; for romantic photos, a beautiful plush or satin is suitable. To make the frame three-dimensional, put pieces of padding polyester between the cardboard and the fabric.
Step 3
Cut out a fabric blank slightly larger than the frame itself, make notches in the corners. Pull the fabric tightly and attach with a glue gun. Seams can be closed with braid or lace. On top of the fabric, attach beads, rhinestones or small objects - shells, dried flowers, mastic products. Cut a rectangle out of paper to fit your photo or picture and attach it to the back of the frame so that you have a pocket open at the top. Insert a photo into it. To hang the frame on the wall, glue the finished metal loop at the top of it.
Step 4
Frames from a ready-made ceiling molding look very nice. This lightweight material is easy to cut and can be used to frame paintings, reproductions and photographs. Choose the size you want and cut off the ceiling molding to the appropriate length. Make the cut at an angle of 45 degrees. Fold a baguette frame and secure it with superglue. The gaps can be filled with sealant, and then sanded with a sandpaper to smooth the corners.
Step 5
The final stage is painting the frame. Use acrylic paint of the desired shade - it is applied with a small brush in 2-3 layers. Another option is to apply metallic spray paint. You can imitate antique silver, gold or bronze in different shades. Such frames will perfectly fit into any interior - from classic to avant-garde.


