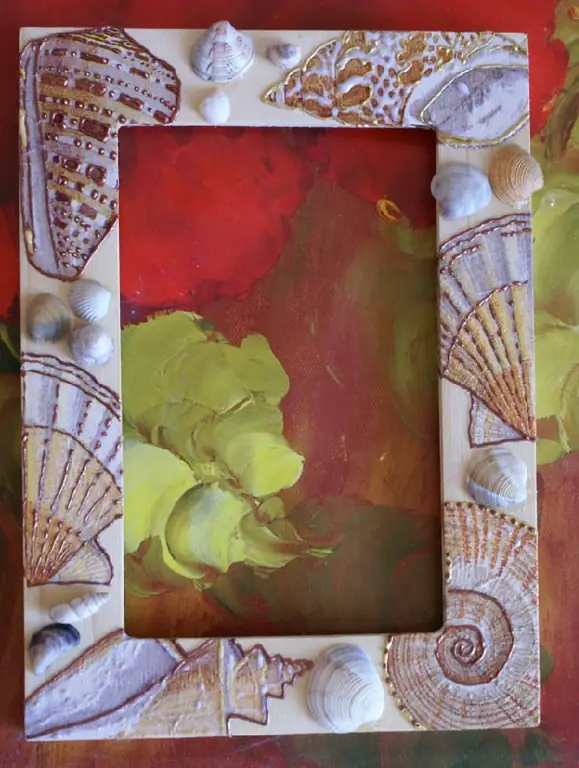
Shops offer a huge selection of wooden frames with different decorations. But ordinary wooden frames do not delight the eye with special beauty. Therefore, to create any additional design on an already purchased frame, you can use the decoupage technique.

It is necessary
- - unvarnished wooden photo frame;
- - universal glue (you can take PVA);
- - a brush for glue;
- - acrylic paints;
- - napkins of different colors;
- - soft brush for paints;
- - beads and beads of different sizes and shapes;
- - multicolored textured paper.
Instructions
Step 1
Apply a thin layer of glue to the frame using a brush. Place napkins around the entire perimeter of the frame and smooth out any unevenness.
Step 2
Cover the glued napkins with another layer of glue and put another layer of napkins on top. Attach 10 layers in this way (the so-called decoupage technique). The thicker the napkin “puff pie” is, the more beautiful and textured the finished frame will turn out.
Step 3
Leave the frame in a dry, warm room for one day to allow the glue to dry completely. If the glue dries earlier, you can continue working immediately.
Step 4
Cut out different figures from textured paper - hearts, flowers, leaves - this is already to your taste. For each cutout shape, make several copies (6-12) as they will stick on top of each other to create volume. Attach all figures to the frame with glue. Then let the glued parts dry and use a brush to paint the frame with acrylic paints.
Step 5
When the paint is dry, in an artistic mess, glue the beads and beads between the textured paper figures. You can also glue the beads directly onto these figures or lay out an outline for them.


