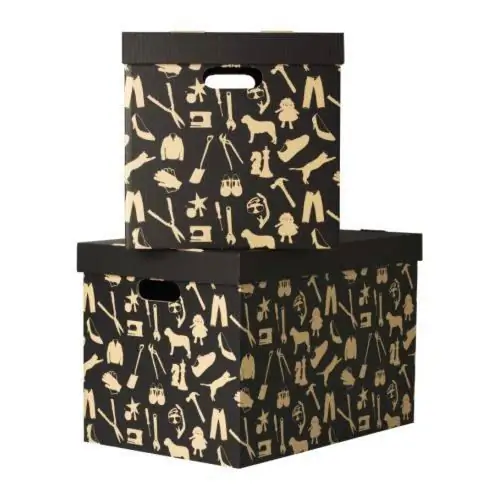
One of the most versatile ways to store various small items is to use different boxes. You can make the most ordinary box suitable for your interior. To do this, simply glue it over with a cloth.

It is necessary
Cardboard box, cloth, glue (for example, universal synthetic glue "Bustilat"), scissors, measuring tape, ruler, fabric marker
Instructions
Step 1
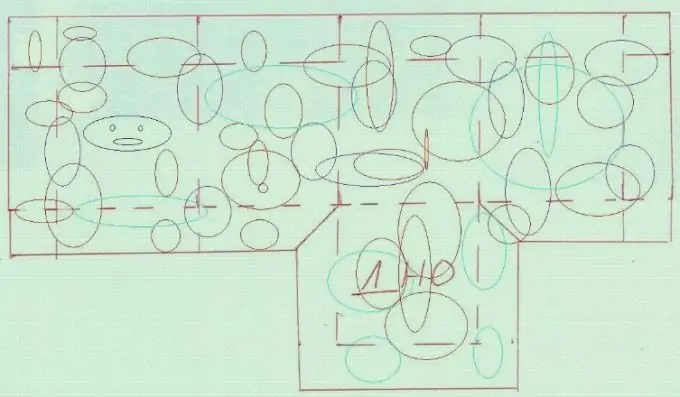
Make a pattern on a piece of Whatman paper (you can use newspapers). To calculate the pattern, you need to add 6 cm to the height of the box. These will be allowances for the fold of 3 cm from the top and bottom. Next, calculate the perimeter of the sides of the box, i.e. fold the width of the four sides of the box. Add 6 cm to the resulting amount for allowances. Thus, from the data obtained, we draw a rectangle on a sheet of Whatman paper, the height of which will correspond to the height of the box + 6 cm, and the width = the perimeter of the sides of the box + 6 cm.
Step 2
Attach a rectangle (square) to the resulting rectangle from below with sides equal to the actual dimensions of the bottom of the box. We also add 3 cm to the resulting figure for allowances. As a result, you should get an illustrated figure. For checking, the resulting pattern can be folded in shape and attached to the box. This will allow you to identify shortcomings in the calculations and correct the pattern.

Step 3
Next, we prepare the fabric. It is better to wash and iron the fabric beforehand. This will prevent the fabric from shrinking on the finished garment. In accordance with the desired images of the patterns, lay out the prepared pattern on the fabric. Next, we transfer the pattern to the fabric using a pen, pencil, crayon, soap, or a special marker on the fabric. Cut out the resulting shape.
Step 4
If the edges of the fabric are crumbling, then it is better to bend the allowances at the bottom to the size of the bottom of the box and sew on a typewriter. Or they can be glued with an iron using a special adhesive tape (serpyanka). The top edge and one of the side edges can also be hemmed or glued with a serpentine.
Step 5
Apply a thin layer of glue to the surface of the box and let it stand for a while until it dries.
Step 6
We put the fabric on the edge of the box from the side of the raw edge in such a way that the 3 cm allowance is on the previous side of the box. And the top edge of the fabric protrudes above the top edge of the box. Next, in a circle, tightly fitting, we wrap the box with a cloth. The finished fabric edge should be on top of the untreated fabric. We smooth the fabric over the surface of the box, removing the uneven distribution of the fabric over the box.
Step 7
We fold the lower fabric allowances and glue them to the bottom of the box. If necessary, add glue to the surface of the box. Next, firmly apply the prepared bottom on the fabric to the bottom of the box. Smooth the fabric and press down to adhere the fabric to the surface of the box.
Step 8
We decorate the upper edge by bending the left fabric allowances over the edge of the box. Add glue if necessary. Leave the box until the glue is completely dry.


