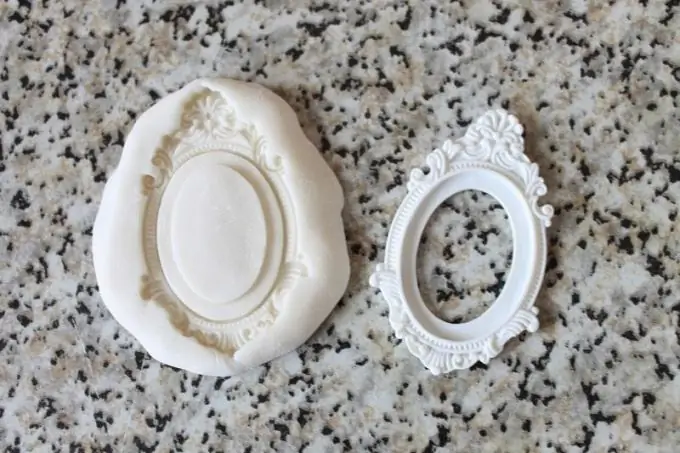
Commercially available silicone molds are expensive and not too original. Making your own molds will allow you to show off your individuality and significantly save money at the same time.

Materials (edit)
Silicone sealants can be divided into three types: neutral, acidic, and filler-based. Sealants with fillers for creating silicone molds are not suitable at all. Their texture excludes the transfer of all subtleties in the event that leaves or petals are used as a sample, and there will be more polish for an object made in such forms. It is not always possible to distinguish one sealant from another by the inscriptions on the label, and therefore you should also rely on sensations - acrylic sealants with fillers are always heavier than ordinary ones.
From neutral and acidic sealants, you can choose any, but acidic will be preferable, since it is the easiest to part with the forms after hardening and is much cheaper. They can be distinguished by their strong vinegar smell. If you have a choice between transparent and opaque, you should choose transparent, as it allows you to see blemishes in the form of air bubbles and get rid of them before solidification.
When making molds of flowers, fruits and leaves, the material is best harvested in the fall, when all the leaves are old and have a good, crisp texture.
Mold making
The sealant is applied to a piece of plastic in such an amount that it is enough for the size of a leaf when leveling with a small margin and with a layer thickness of at least 7-10 mm. Molds that are thinner run the risk of tearing quickly. In order to avoid bubbles, the sealant is poured into one point with a slide, quickly and in a thick stream. Smooth with a finger soaked in soapy water to avoid adhesion of the sealant.
After pouring, the silicone die should dry for a couple of minutes, then the petal leaf greased with soapy water is gently pressed into the silicone, starting from the center, with smooth movements, expelling all the air and achieving a snug fit. The sheet should be lubricated evenly without water droplets. Do not use oils or hand creams to grease the model leaves. The structure dries for at least a day, if the air in the room is too dry, you can cover the composition with a glass jar on top so that the sheet does not dry out prematurely and does not distort the print. The hardening time of the sealant is written on its packaging, and it rarely exceeds 5 mm per day.
After drying, the sheet is removed, and the finished molds are best stored in separate silicone bags, each, since even completely dried silicone tends to stick together and deform.


