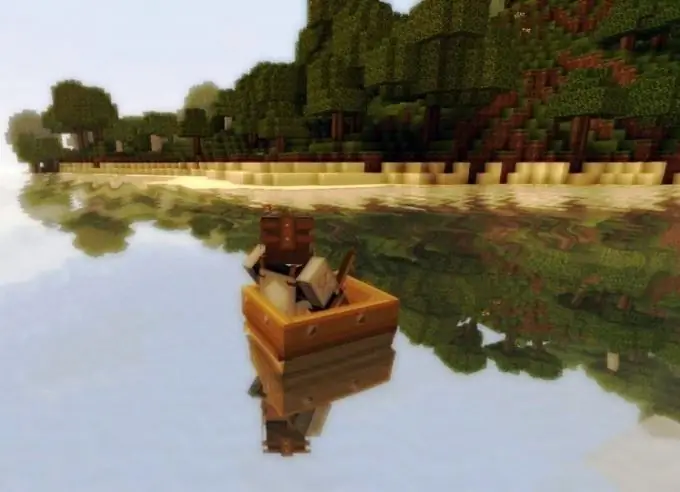
In Minecraft, the appearance of any objects - both conventionally living and inanimate - is determined by the corresponding textures. They are a kind of candy wrappers, but in this case they "wrap" mobs, lights, tools, blocks, etc. in them. Therefore, any gamer who is eager to transform the "minecraft" world should start editing textures - at least changing their resolution.

Editing and patching textures
The resolution of textures in the game will determine the clarity of drawing certain objects, the detailing of their images. In short, the higher this indicator, the more realistic the Minecraft world will be. However, in order for this to work, you need to edit the textures.
In older versions of the game - up to about 1.4.7 - the texture resolution could be manually set quite easily. To do this, it was enough to unpack any of their standard set and modify it using a graphical editor, including changing their resolution from the default 16x16 to virtually any, up to 512x512.
True, in order for the enlarged textures to look better, a certain hand-drawing was required, but this usually did not stop gamers. About half an hour of work in Paint, Photoshop or another similar program - and after installing the updated texture pack, the changes in the game world are obvious.
In versions of Minecraft 1.5.x and higher, one of the most important files that set the appearance of most "natural" blocks in the game was abolished. Now it has become much more difficult to edit textures, and changing their resolution in the above way is actually not feasible at all.
However, it is now possible to set different parameters of textures thanks to some special mods. In this regard, it is worth trying at least MCPatcher - it will patch the existing textures, adapting them to the installed version of Minecraft, so that even high-resolution images “fit” normally on game objects.
Procedure for adjusting textures
If the gamer decided to choose the second of the above mods, you need to download the installer for it, suitable for the existing version of the game, from any reliable resource. You should also get a texture pack and, if you wish, correct its contents through any graphics editor you like.
Now you need to install MCPatcher and run it. It will take some time for it to parse the game files. After that, a window will appear for setting specific graphic parameters for Minecraft. By setting them at will, the player will change some characteristics of the textures, including their resolution.
Among the things that can be adjusted in this way are the appearance of the luminaries, grasses, randomizing mobs (setting several options for their appearance), determining the color scheme, converting textures and fonts to HD, etc. Having marked the necessary items, the gamer must click + and select the texture pack on his computer that will be affected by such changes. This choice must be confirmed with the OK button.
After the above steps, it remains to click on the Patch label and wait for the texture patching process to take place. Upon its completion, all that remains is to launch the game and simply enjoy the changes that have taken place in its world.


