On the way to mastering video and graphic editors, any inquisitive mind sooner or later faces the problem of changing the file extension. Read how to do this in this little cheat sheet.

Instructions
Step 1
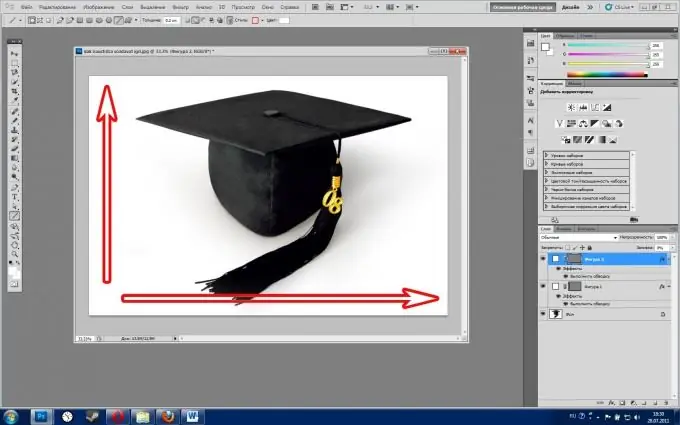
In order to change the resolution of an image (drawing, photograph, etc.), you can use the Adobe Photoshop program. Here we will analyze how to do this, using the example of the Russified CS5 version of this program. To open a file, click "File"> "Open" or the key combination Ctrl + O. Then click "Image"> "Image size" or alt="Image" + Ctrl + I. In the window that appears, we can change the width and height of the image using percent or pixels as units. To prevent the image from stretching to any of the sides, do not forget to check the box next to "Maintain aspect ratio" at the bottom of the window.
Step 2
In order to change the resolution of a video file, we need the Sony Vegas 10 video editor, although this function can be found in almost any video editing program. To open the file, click File> Import> Media and select the required video in the browser window. The file will appear in the Project media module, drag it from there to the workspace in the lower right part of the program. Then click File> Render as …, specify the name of the future file, select its extension (avi, wmv, mpg, etc.) and click Custom. In the Video tab (the list of tabs at the bottom of the window), we find the Frame size line and in the drop-down menu, select one of the proposed file resolution options. If you want to specify any other size, click on Custom frame size and specify the necessary numbers below in the Width and Height fields. Click "OK", in the browser, specify the location to save the file and click "Save".
Step 3
Be prepared for the fact that the video picture may lose quality, and if it does, experiment with codecs. The settings for the codecs can be found in the above Video tab under the Video format item.


