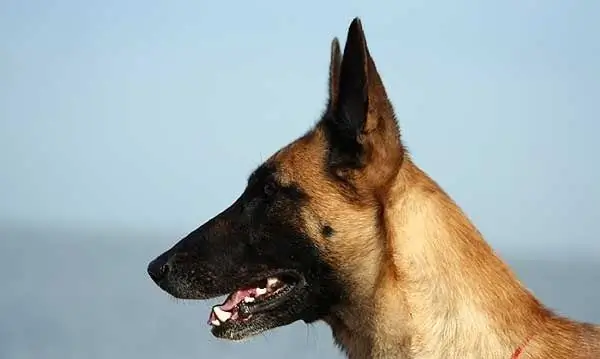
Sometimes you want to draw a portrait of a dog not in full growth, but to depict only its head. To do this, you will have to resort to building the dog's head exactly as if you were drawing a portrait of a person.

It is necessary
A sheet of paper, a simple pencil, an eraser, materials for work in color
Instructions
Step 1
Prepare materials to work on the drawing. Choose whether you will draw from a photograph or from memory. In the second case, to make the task easier, look on the Internet for various pictures of dogs and select a breed. Place the sheet of paper vertically. Although you can draw the head on the horizontal one. In this case, it is best that it is slightly offset to the left or right. With a simple pencil, start sketching.
Step 2
Sketch lightly for the head, muzzle, ears and neck. Then proceed with the detailed construction. Build the head in the shape of a ball. From it, in the form of a rectangle, outline the muzzle itself (if it is elongated, like that of a shepherd dog). If not too long, build a square. If you are drawing the dog not in profile, then draw a center line on the head, right along the surface of the ball and bring it to the tip of the muzzle. Draw a nose at the end.
Step 3
Place the dog's eyes at the same distance from the center line. Next, outline the ears. If they are hanging, draw them out of ovals. If standing - from triangles. If there is a leash on your neck, mark it. On the sides of the nose, place the "cheeks" from which vibrissae (whiskers) grow in dogs. Use the eraser to erase unnecessary hidden lines and construction lines.
Step 4
Carry out a detailed drawing. You can start with the eyes, their structure is almost the same as that of humans. Next, go to the face itself, pay attention to the nose, especially the nostrils. Draw a line for the mouth. It is possible that in your drawing the dog will have a slightly open mouth and teeth. Work on your ears. If necessary, refer to the images on the Internet.
Step 5
Use the eraser to remove unnecessary lines. Choose whether to continue working in color or leave it in pencil. In any case, strokes (strokes) are best applied according to the shape of the body, according to the growth of the coat. When working with paints, create color spots first. Then, once dry, start working on the texture. Colored pencils and felt-tip pens are best to immediately hatch in shape, taking into account the incidence of light and shadow.


