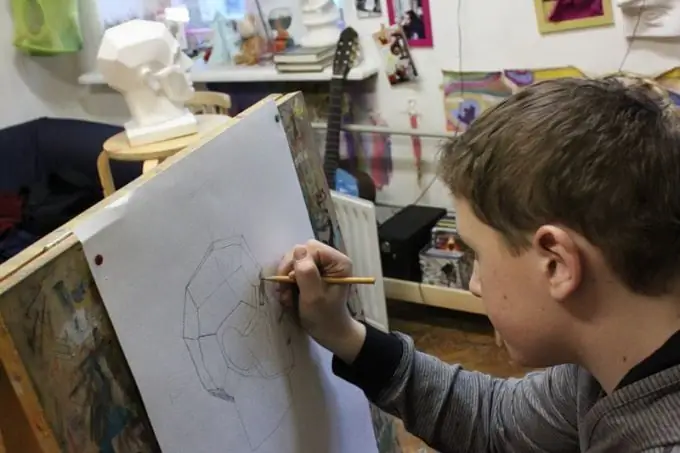
Drawing a plaster head is one of the moments in the educational process of a student of an art school, college or university. This is a rather difficult job that requires a lot of attention and diligence.

It is necessary
sheet of paper, pencils, eraser, plaster head
Instructions
Step 1
Prepare a sheet of paper for work, simple pencils of different softness, an eraser. Place the plaster head on the surface, as well as the light source (or limit yourself only to the general lighting of the room where you will be working) so that the front is lit. Sketch the compositional position of the head on the sheet. It is desirable that there is enough space ("air") on top of the drawing and in front of the face, if you are not drawing from the front.
Step 2
Sketch lightly for the head and neck. Mark the edge - the place where the front surface passes into the side. You can shade the side surface slightly. Clarify the proportions, the ratio of the brain and facial parts More precisely, draw the location of the middle vertical line, the line of the eyes, nose, mouth. Sketch out the main details.
Step 3
Continue to analyze the shape. More precisely, build from the surfaces the shape of the cheekbones, nose, lips, eye sockets, and so on. This is useful in order to correctly apply the shadow, to understand the structure of the head. At this stage, use light shading to indicate the main shadows. You shouldn't work out any details more precisely, but still don't get carried away. Your drawing should be drawn the same in all parts. Check the proportions of the head using a pencil.
Step 4
Then continue to refine and work out the shape of the nose, chin, nose wings, eyelids, ears, and more. Reinforce shadows, add penumbra. Then "smooth out" the shapes, check with nature, so that there is no schema in the drawing. To highlight the face, the space in front of it can be carefully shaded. Check the tonal consistency of the picture so that there are no too black spots and sharp corners.
Step 5
When drawing heads, it is not so much the amount of work and practice that is important, but the accuracy of the work, accurate transmission, understanding of the structure of the head and its details. It is useful to perform the same drawing no longer from nature, but from memory on a smaller sheet format. It is also useful to perform the same head, but from a different angle. All this work helps to master the technique of drawing a portrait.


