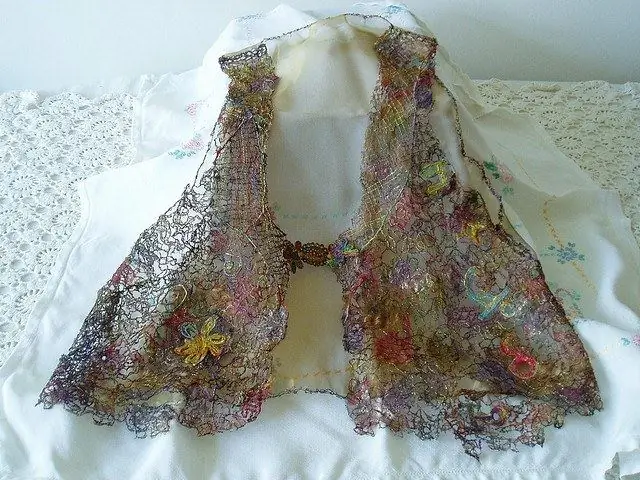
The process of burning through the fabric is called "guilloche". Guilloche came to us from Germany. Using this method, you can burn almost any pattern onto the fabric, from a flower to a portrait. Exquisite art provides an opportunity to fully demonstrate your talent and artistic ability.

What you need to stock up on in order to burn wood
In order for the wood burning process to be successful, you need to stock up on a wood burning device. There should be a sharp needle at the end of the device. The needle temperature should not exceed 300 degrees Celsius. You will also need a fabric to burn on. In the old days, craftswomen used natural silk, instead of silk we take any artificial or synthetic fabric.
If you want to do guilloche seriously, build a copy table. The copy table is a wooden frame with glass fixed on its surface. Two light bulbs are installed inside the frame, the switches from which are brought out. To prevent the table from overheating, make several ventilation holes in the wooden frame.
Getting started
Choose or come up with a drawing. Draw the image with a dark felt-tip pen or marker on a piece of Whatman paper. Then pick up a piece of artificial fabric, iron it with an iron and attach it to the Whatman paper over the drawing with needles. Put the sketch with the cloth on the copy table glass, turn on the lights. The light bulbs will shine through, and the pattern will be perfectly visible to you through the paper and fabric.
After installing the copy table, take the pencil of the woodburner in your right hand and plug the device into the mains. The needle must be held perpendicular to the drawing, the burning should be started from the middle of the sketch to its edges. Check the temperature of the needle on a piece of the same tissue as the one to be operated on. After making a few test cuts, get to work.
Burning process
Hold the needle as you would a ballpoint pen, but without tilting, perpendicular to the glass surface of the copy stage. Touch the fabric with the needle, adjusting the pressure and being careful what you get. The fabric must be cut through in strictly defined places. To prevent the fabric from shifting, before each cut, it is slightly pulled with the fingers of the left hand.
During the burning process, particles of melted tissue adhere to the tip of the needle. These particles can deform and ruin the drawing. Inspect the needle tip regularly to avoid damage. If you see the needle get dirty, clean it with a piece of cotton cloth, emery paper, or a razor blade.
With the help of a hot needle, you can not only make cuts, but also cut fabric, burn out small holes, weld pieces of fabric together, apply an ornament: dots, beads, chipping. Experienced craftswomen know how to carry out spot and continuous welding of parts, make "hemstitching" and form cuts of varying degrees of complexity.


