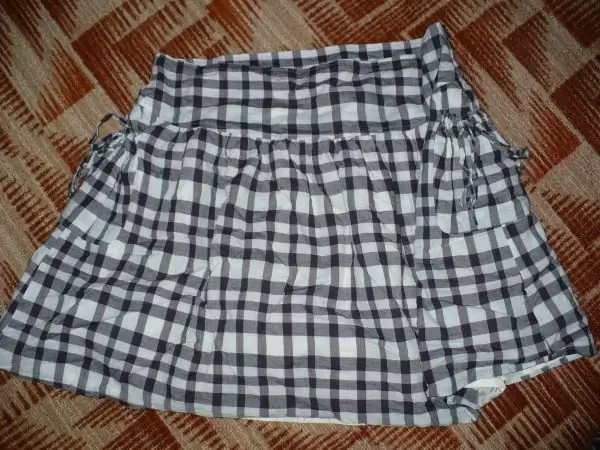
Despite the abundance of festive and casual clothing sold in stores, handicrafts will always be in high demand. Clothes made to order look much better on the figure, and experienced craftswomen of cutting and sewing will never be "out of work."

It is necessary
- The cloth,
- patterns,
- threads,
- sewing machine
Instructions
Step 1
First, make a pattern. To do this, you need to take measurements:
- skirt length;
- waist semicircle;
- semicircle of the thighs.
Try to take measurements as accurately as possible. After you already have the first numbers, add extra centimeters to them for freedom of fit (as much as necessary).
When building a pattern, do not make a mistake in the calculations.
Step 2
After all the work on the construction of the pattern has been done, proceed to the layout of the fabric. Pay particular attention to the proportions. The "cage" when cutting along the oblique requires careful painstaking work. When buying the required amount of material, remember that it should be slightly more than calculated by the standards.
Step 3
Before you start cutting the fabric, you need to iron it. To cut the "cage" use only complete patterns, which include both basic and additional details. Place the pattern pieces on the right side of the fabric (face up). The material should be laid in one layer. When cutting, apply control marks on it. Make sure that the cells are located symmetrically with respect to all parts and that the pattern will not shift at the place of their connection.
Step 4
When starting to cut directly, make sure that the scissors are not chipped (otherwise you may ruin the edges of the material). Try to connect the cages along the seam strips. Place the details of the pattern on the fabric in such a way that the seam allowances, which will then be aligned, are located next to each other.
Step 5
After the main details have been cut out, start working on additional ones, combining them with the pattern in those areas with which they will subsequently be connected. Mark with pins or chalk the points of the tops of the darts and additional sewn-on elements. Connect the main parts with basting stitches and check the position of the pattern again. Set the sewing machine correctly and start sewing.


