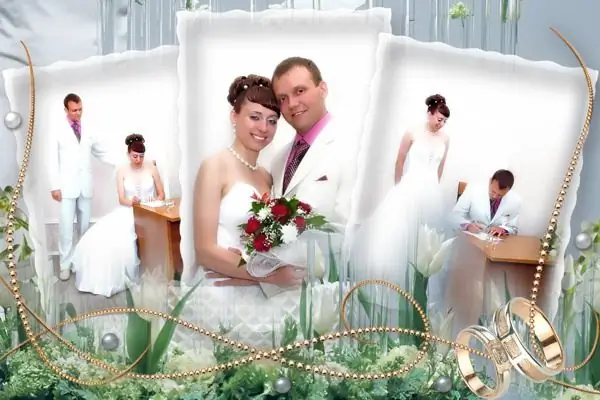
A wedding is one of the most memorable days in the life of every person, and everyone dreams of preserving a vivid and colorful memory of this day in the form of beautifully designed photographs. If you want to get a really beautiful photo, it is not enough just to hire a photographer, you need to be able to properly process the frames so that they look professional.

Instructions
Step 1
First, before you start processing your photos, sort your footage. Discard bad shots and bad takes with incorrect camera and light settings, leaving only good composition and quality pictures. Choose the most talented photos from the whole set and spend time on them - these frames will be the decoration of your wedding photo album.
Step 2
There are different ways to make your wedding photography more artistic. For example, you can convert it to a stylish black and white frame, or leave the photo in color, but add a romantic glow effect. To do this, use Adobe Photoshop or LightRoom.
Step 3
In LightRoom, set the appropriate image correction settings - edit the level of contrast, saturation and other parameters. Use white balance to bring the white of the bride's dress to the front, making it brighter.
Step 4
Do not forget about basic retouching - remove minor imperfections and imperfections on the skin of the bride and groom using the appropriate tool (in LightRoom it is the Adjustment Brush, in Photoshop it is the Healing Brush). In a short time, you will be able to make the skin of the person shown in the photo perfectly smooth and beautiful.
Step 5
To achieve a beautiful and airy effect that matches the theme of the wedding photography genre, load the photo into Photoshop and duplicate the main layer by choosing the Duplicate Layer option. Select the copy of the layer and open the Filter menu. Then open the Blur -> Gaussian Blur section, set the blur radius to 16 pixels and apply a filter to the copy of the layer.
Step 6
After that go to the layers palette and set the opacity of the layer to 50%. The transparency can be lower, depending on whether you like the result. The photo will acquire an unusual glamorous effect that you can vary as you see fit using additional filters.
Step 7
In order to blur not the entire bride's figure, take a semi-transparent soft brush (Brush Tool) or Eraser Tool (Eraser Tool) and carefully process the area of the eyes, lips and eyebrows of the bride so that they are clear against the background of a slightly blurred general figure.


