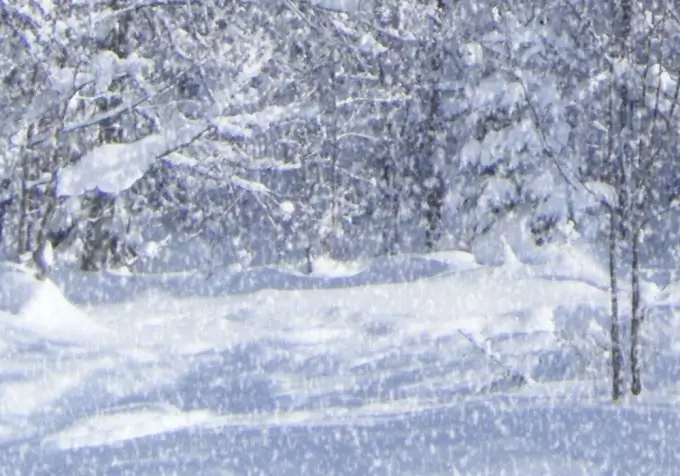
If the winter is not snowy enough, you can call for help not only pleas for an imminent snowfall, but also an irreplaceable assistant in rendering any dream and fantasy - Adobe Photoshop.

Instructions
Step 1
Launch the Adobe Photoshop editor and open the required photo in it. For the effect of falling snow to be more believable, there must be at least some hint of the coldest time of the year in the photo - winter. To open an image, click the File menu item, then Open (or faster and easier - use the Ctrl + O hotkeys), select the desired file and click Open.
Step 2
Create a new layer. This can be done in two ways. First, click on the menu item "Layers"> "New"> "Layer". Second - use the hotkeys Ctrl + Shift + N. In the window that appears, immediately click "OK". Change the blend mode of the layer: in the list of layers, select "Layer 1", and then in the box that is located in the upper left corner of the "Layers" panel, set "Display" (by default it says "Normal"). Press D to make the foreground color black, and then Alt + Backspace to fill Layer 1 with that color.
Step 3
Click the menu item "Filter"> "Sketch"> "Ink". In the window that opens, turn the sliders "Stroke Length" and "Tone Balance" to achieve a more believable effect.
Step 4
Also pay attention to the "Direction of strokes" setting, with which the snow can be made to fall strictly vertically, as well as diagonally to the left or right. Having achieved the desired result, click "OK".
Step 5
In addition, the angle of falling snow can be changed in another way. Select the Loupe tool and remove the image so that you can see the non-clipping area of the document. Select "Layer 1", press Ctrl + T. Transparent square markers will appear at the edges of the layer - this means that you have called the Free Transform command. Hold down the left mouse button and Shift on one of the corner handles and drag it outward, towards the non-working area of the document, release the button. The layer will stretch. Hold down the left mouse button and align the layer to the center of the work area. To change the angle of the snow falling, you need to tilt this layer: move the cursor a little further than one of the corner markers until it turns into a bent double arrow. Hold down the left button and move the mouse to one side - you will see that the layer is tilted, and at the same time the direction of the strokes changes. When you're done, make sure the "Layer 1" you are tilting completely covers the background and press Enter.
Step 6
Click Filter> Blur> Gaussian Blur. Set the Radius parameter to make the strokes look like snow. Select "Layer 1" and set its Opacity to 70%.
Step 7
To save the result, press Ctrl + Shift + S, in the window that appears, select a location to save, specify the name and type of files and click "Save".


