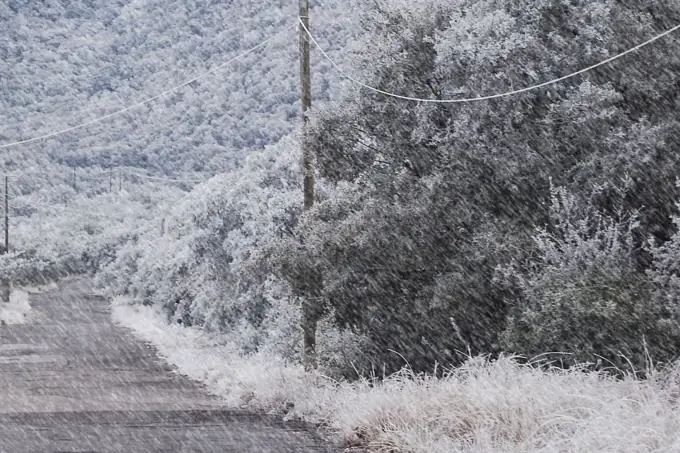
It so happens that an idea for a brilliant landscape photograph has matured in my head, but the weather is in no hurry to please with snowfall. And if you are not lucky with the weather, you can create snowflakes yourself using Adobe Photoshop.

It is necessary
Russified version of Adobe Photoshop CS5
Instructions
Step 1
For a more believable effect, find a photo with a snowy landscape but no snow falling. Because you will add it to the photo. Launch Adobe Photoshop and open this photo: click the "File" menu item, then "Open" (the other way is the keyboard shortcuts Ctrl + O), find it and click "Open".
Step 2
To create a new layer, press Ctrl + Shift + N and in the window that appears, immediately click "OK". Activate this layer in the "Layers" panel (it should be named "Layer 1") and change the blending mode to "Display". This can be done using the drop-down menu located in the upper left part of the "Layers" panel. By default, there is the "Normal" parameter. Press D to make black the foreground color, and then Alt + Backspace to paint over the entire layer with this color.
Step 3
Click Filter> Sketch> Ink. Adjust the Stroke Length and Tone Balance sliders so that the effect looks like falling snow. Experiment with the Stroke Direction setting: you can make the snow fall vertically, as well as diagonally to the left or right. Click OK.
Step 4
Click Filter> Blur> Gaussian Blur. Adjust the radius parameter so that the snowflakes on one side are not very blurry, and on the other they do not look like raindrops. Click OK.
Step 5
Make sure Layer 1 is on in the Layers panel and set the Opacity to about 70% in the top right of the panel. The falling snow effect is ready.
Step 6
If you want to save the result, click the "File" menu item, then "Save As" (you can use the hot keys Ctrl + Shift + s), set the path to save the future image, write a name for it, decide on the file type and click "Save" …


