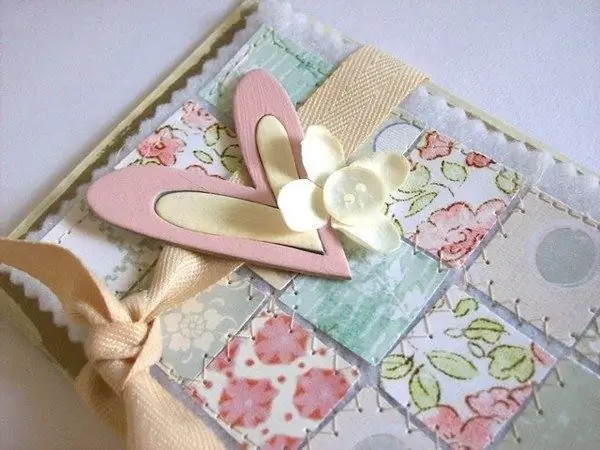
Scrapbooking is a very interesting type of creativity, involving the creation of original postcards, photo albums, gift boxes. For their manufacture using the scrapbooking technique, various scrap materials are used.

Scrapbooking: what to make a postcard from?
In a fairly short period of time, scrapbooking has become a very popular type of needlework in different countries of the world. When creating original products, you can use buttons, beads, ribbons, rhinestones, stones, natural materials. Usually, special paper of a fairly high density is used for scrapbooking. Lighter paper has to be reinforced with cardboard. It can also be embossed, with glitter or curly edges.
You should start learning scrapbooking by creating an interesting postcard. To do this, you will need: sheets of white, black and colored cardboard, a small piece of lace, 3 artificial little flowers, a white ribbon, as well as 3 buttons, a ruler, scissors, a black gel pen and glue.
The main stages of creating a postcard
First, cut a small rectangle out of white cardboard and fold it in the middle. It will be the basis of your postcard. Then, from colored and black cardboard, you will need to cut out two rectangles (two large and two small). After that, stick the colored cardboard onto the black one, so that the edges of the latter are visible. You should have a thin black border around the colored cardboard. Stick the pre-cut congratulatory lettering on black cardboard.
Now you can go to the assembly of the backing, which will then be glued to the base of the postcard. Glue the small rectangle to the upper right corner of the large one so that it is located vertically. The lettering can be glued down horizontally. After that, you should take a piece of lace and glue it to the central part of the postcard. There should be a small piece of white tape on top.
Then make a bow out of a white ribbon and singe the edges so that they do not crumble. Place the bow carefully over the tape and glue it down. Flowers with buttons need to be beautifully laid out on a small rectangle, and then glued. As a result, you have a ready-made backing that can be safely attached to the base of the postcard with glue.
Use a black gel pen to draw dots around the edge of the backing and the original monogram. These elements will additionally decorate your postcard. After creating such a postcard, you can safely start making more complex gizmos, for example, photo albums.


