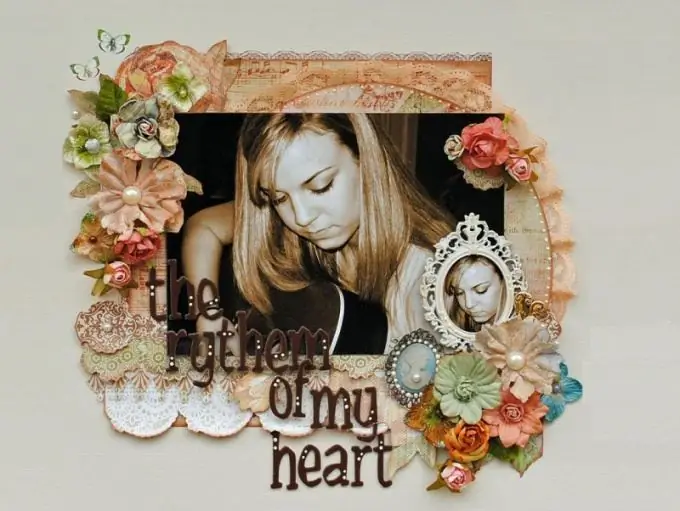
Scrap kit (from the English. SrapKit) - these are graphic elements made in the same style and color scheme, intended for decoration of photographs. The kit may include frames, vignettes, textures and backgrounds, decorative drawings - flowers, toys, animals, plants, etc. You can use scrap kits in the popular graphics editor Adobe Photoshop.

It is necessary
- - a computer;
- - Internet connection;
- - graphic editor Adobe Photoshop;
- - ready-made scrap set.
Instructions
Step 1
Download ready-made scrap kits from the Internet, which can be found upon request in any search engine. These images are of fairly high quality, so the file size is large and most often they are archived. Unpack the archive. There is no need to specially install the scrap kit - it opens directly in the Adobe Photoshop program. Start it up.
Step 2
A scrap set usually has an element such as an image background. Open it, and then select and insert from the set any elements that you like and need to decorate your photo. Use the command File> Place for this.
Step 3
You can change the size of any element as you need, while the quality of the picture will not change. Resize, rotate, or position the selected element using the Edit> Free Transform command or the Ctrl + T keyboard shortcut. Repeat this operation until you have transferred and pasted all the selected items.
Step 4
If you want, insert text into the picture. Select the Horizontal Type Tool on the toolbar using the T hotkey. Label and place it in place.
Step 5
Select the one you want to style in the photos folder, place it in the second layer, above the background texture. If you want to reshape it, select the Elliptical Marquee Tool and select the part of the photo you want to keep. Invert the selection using the keyboard shortcut Ctrl + Shift + I or by choosing the sequence from the menu: Select> Inverse.
Step 6
In the event that you want to blur the edge of the inserted photo, use the Select> Modify> Feather sequence (Selection> Modification> Feathering) with the parameter 20 pixels or the key combination Shift + F6 with the same parameter. Press the Del key, the cropped part of the photo will be deleted, and the edges of the pasted area will be slightly blurred. To make them even more blurry, press the Del key a few more times.


