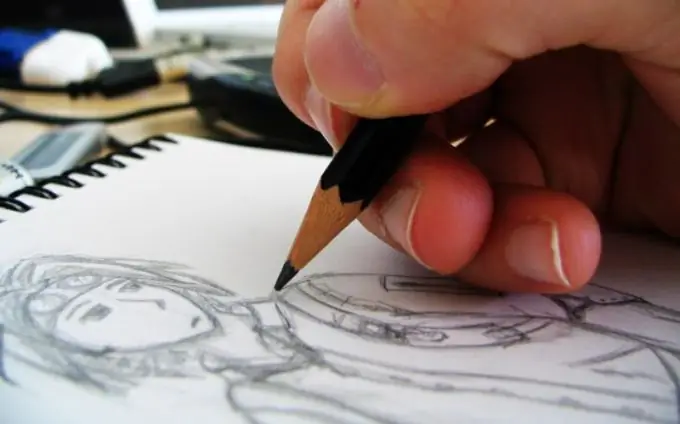
If you have the ability to draw, but do not have a special education, you can easily sketch a portrait from a photograph. Do not limit your imagination: take gouache or watercolor; ink with markers or crayons; white sheet or textured colored cardboard. Let the main goal be not an external resemblance, but a non-trivial creative approach!

It is necessary
- - A sheet of paper / cardboard,
- - watercolor,
- - gouache,
- - simple and colored pencils,
- - crayons,
- - ink,
- - markers,
- - tracing paper,
- - ruler,
- - paper clips,
- - glass,
- - table lamp,
- - scissors.
Instructions
Step 1
Determine if the parameters of the photo are sufficient for comfortable work. It may be worth increasing its size and clarity. To do this, scan the original sample or photograph and print on a larger scale. Brightness / contrast can be edited in any graphics editor on the computer.
Step 2
Decide on what scale you want to paint the portrait in relation to the original photograph. It is better to take simple scales: 1: 1, 1: 2, 2: 1, 1: 1, 5.
Step 3
Trace the photo on the cells, or put a lined tracing paper on it and secure with paper clips.
Step 4
Prepare a sheet of paper / cardboard. It’s better to take the format a little larger in order to crop it at the end of the work, because without special skills it is difficult to immediately arrange the image compositionally correctly.
Step 5
Draw the worksheet into cells. Alternatively, lay the sheet with the lined backing on the glass with the light directed from below. In this case, the size of the cells of the leaf should correlate with the size of the cells of the photograph at the same scale in which you want to get the image.
Step 6
Examine how the image is drawn in relation to the sides of the cells in the source. Transfer the main contours of the portrait to the sheet with light strokes, focusing on its cells. Continue refining and adjusting the contours and details until you achieve the desired similarity to the original.
Step 7
If the artistic intent requires it, add volume to the portrait. To do this, apply tonal spots of varying intensity. First apply the deepest, falling shadows. Then gradually simulate the volume: apply spots of different saturation, constantly comparing them with each other and evaluating the image as a whole.
Step 8
Crop the sheet so that the portrait is positioned compositionally well. Moreover, its total mass should be slightly above the middle. If the character depicted on the sheet is rotated about its axis, leave a little more space in front of his eyes.


