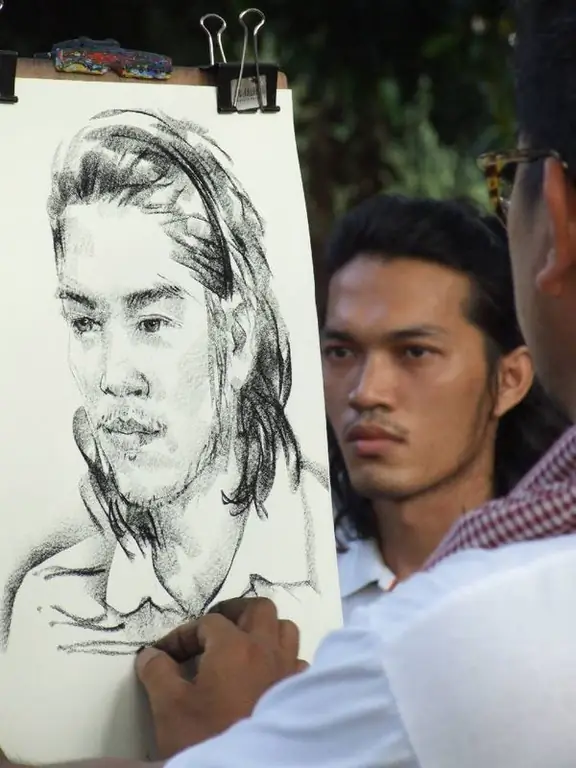
From an early age, children try to draw a person in full growth or depict portraits of loved ones. In drawing lessons, children learn to draw a portrait with the help of clear instructions from the teacher, but not everyone succeeds in drawing. An adult may also have a desire to draw someone. You should understand what sequence to follow when painting a portrait.

Instructions
Step 1
Place a blank sheet of paper on the tablet. Place the plaster figure or sitter in such a way that the light favorably conveys the proportions of the face. The analysis of the shape of the head depends on the correct setting of the lighting.
Step 2
Draw a rectangle on the sheet of paper, the width and length of which are determined visually, according to the proportions of the original. Divide the shape in half with vertical and horizontal lines. Draw a rough outline of the face, neck and hairstyle. The neck and head should not be seen separately from each other. The shape of the neck is similar to a cylinder that fits into another shape (head).
Step 3
Add shadows and highlights (drop shadows, midtones), starting with large shapes and ending with small details. Use shadows and chiaroscuro to work out the volumes of the lips, nose, ears, eyes, eyebrows, the line of the cheekbones and the neck. To ensure that all shadows match the original, move away from the tablet more often and evaluate the work from the side.
Step 4
Draw an auxiliary line for the eyes: it is located in the middle between the chin and the crown of the head (without hairstyle). The eyes are spaced from each other at a distance of the length of one eye. In full face, distances are measured from the outer corner of the eye. In this case, the distances to the chin and to the outer tip of the ear are equal. Draw the eyes almond-shaped.
Step 5
Divide the distance from the hairline to the bottom point of the chin into three equal parts: the top line will correspond to the eyebrow line, the first from the bottom will correspond to the lower part of the nose. The wings of the nose should be limited by the distance between the eyes. Draw the nose not from the inner corner of the eye, but from the eyebrows.
Step 6
Divide the distance from the nose to the chin into two equal parts and draw the mouth above the middle, i.e. closer to the nose. The length of the lips is equal to the distance between the pupils of the eye. With the corners of your mouth, you can show the mood of the person. A straight line of lips closing indicates seriousness. If the corners are slightly raised above the line, the person is in a good mood. Lowered corners betray sadness. It is also important to determine the fullness of the lips.
Step 7
Draw the ears, the length of which corresponds to the distance from the eyebrow line to the corners of the lips.
Step 8
Work out the hairstyle, the location of the curls. Apply the final touches with chiaroscuro. Erase construction lines. The portrait is completely ready.


