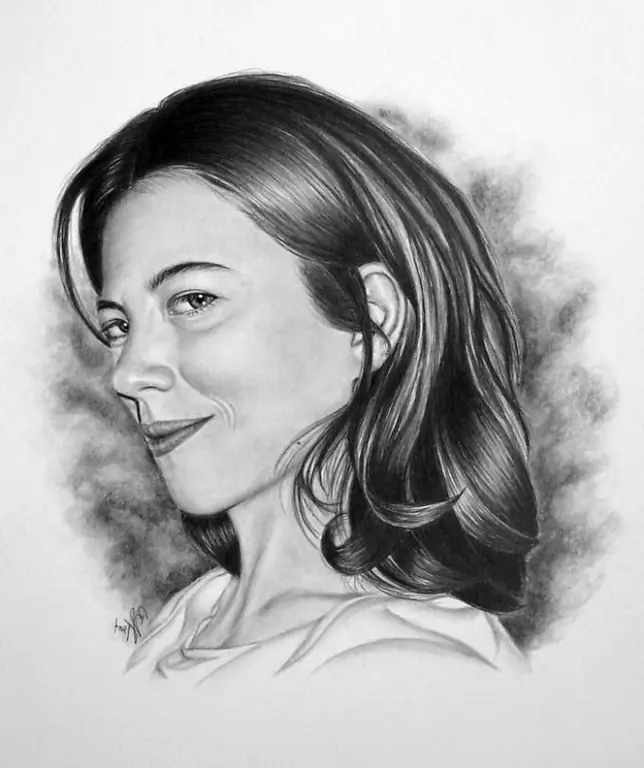
Creating a portrait of a person is a very individual process, in each case there is its own, special magic of drawing. There are a few basic steps that will take you from the first stroke to the finished pencil portrait with confidence.

It is necessary
paper, pencils (2T, TM, 2M), eraser
Instructions
Step 1
Select an angle. From what point you look at the model, where the light source will be located, the overall impression that your drawing will make will depend. Watch your character when he is relaxed, find the angle in which he looks the most advantageous and expressive.
Step 2
Sketch on the sheet with a hard pencil. Add guidelines for the main parts of the portrait - skull, face, neck. The lines should not be too bright, and the proportions should be verified. Move your hand freely and quickly - for this you should take a pencil 2-3 cm from the end. The image at this stage will be very conditional. While you are looking for the best positioning of an object in a format, make sure that the composition is balanced.
Step 3
Calculate the proportions of the person's face and mark them in the picture. There are basic averaged proportions. Having determined the ratio of the width and height of the head, draw it in the form of a rectangle, divide it in half horizontally and vertically. The vertical line is the central axis of the person's face, check it how proportionally the parts of the drawing are located. The eyes will be located on the center line horizontally. The distance between the eyes is equal to the width of the wings of the nose. By dividing the bottom of the drawing in half again, you will mark where the tip of the nose should be. The distance from the eyes to the hairline will be the same. The ears are usually level from the tip of the nose to the bridge of the nose. The corners of the mouth can be drawn by drawing straight lines from the pupils downward. The bottom lip line will be in the middle of the last bottom rectangle.
Step 4
Correct the proportions of the face according to the real data of the model. The face of each person is unique, and the transfer of individual proportions will make the drawing as expressive as possible.
Step 5
Apply shading. Identify the darkest areas of the drawing, partial shade and light. Apply shadows with a soft pencil. The darker the area, the softer the pencil, the stronger the pressure on it and the thicker the line. Repeat hatching the shape of the object and add strokes to the main strokes at an angle of 45 degrees.


