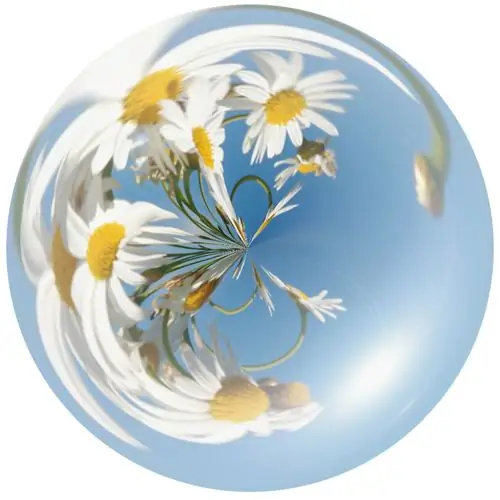
Photoshop opens up great opportunities for you to create a variety of visual effects in photographs and any other images. With the help of Photoshop, you can imitate almost any phenomenon - for example, depict several transparent soap bubbles on any photo, which will be almost impossible to distinguish from real ones.

Instructions
Step 1
Open the photo you will be working on in Photoshop, for example, a floral still life.
Step 2
Duplicate the main photo layer, then open the Filter menu and select the Distort -> Spherize option. Set the Amount parameter to 30. Apply the filter again by pressing Ctrl + F.
Step 3
Now on the toolbar select the Ellipse Marquee Tool option and make a circular selection around the deformed area while holding down the Shift key. If you need to give the selection a special rounded shape, right-click on the selection and select the transform option.
Step 4
Invert the selection by pressing Ctrl + Shift + I and then delete the new selection by pressing Delete. All you will be left with the duplicated layer is a rounded selection with a distorted photograph. Invert the image again and scale it using the Free Transform Tool. Drag the bubble to the desired location in the photo.
Step 5
Make a few more bubbles in the same way - hide the previous layer and create a new one by copying the previous selection to it and reapplying the Spherize filter to it. Change the Amount parameter in each case to make the bubbles different - increase or vice versa weaken the filter effect.
Step 6
Remove the selection by pressing the Ctrl + D keyboard shortcut, then make all the layers visible and apply a free transformation to finally fit the bubbles to the parameters of the image on the background. Merge all the layers by choosing Flatten Image from the Layer menu.
Step 7
To make the bubbles more visible, select the Smart Sharp option from the filters menu with a volume of 30% and a radius of 40 pixels. Then rub the edges of the bubbles with a soft eraser. Set the blending options to Inner Glow.
Step 8
Select the background separately from the bubbles and apply a Gaussian Blur filter to it to further emphasize the bubbles. Draw highlights on the surface of the bubbles. The drawing is ready.


