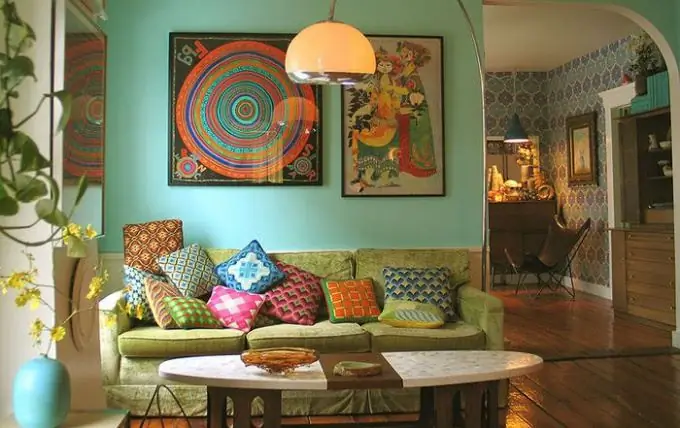
It is not at all necessary to buy ready-made paintings in stretchers to decorate the interior of a room, to be able to draw them with oil paints, pencil or gouache. A picture for a creative person with your own hands can be created in the form of embroidery, panels, decoupage, applique.

Instructions
Step 1
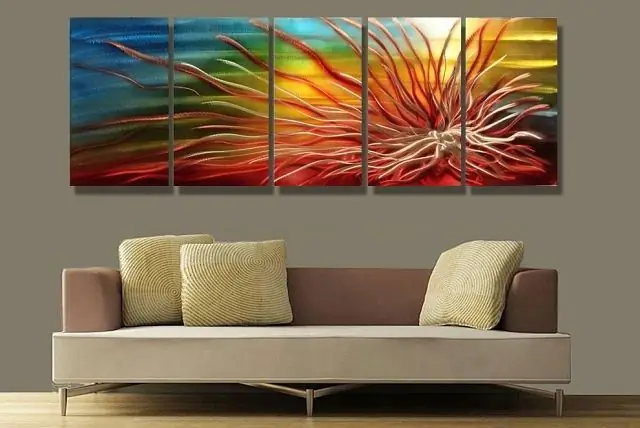
Make an original modular poster painting with your own hands. Typically, such paintings are painted on their own with artistic paints on natural canvas, but you will simplify this step by applying direct printing on a printer on any natural material. You can print your favorite picture in large size on laminated paper in design offices.
Step 2
Cut the finished painting into equal or different pieces. Slide each piece into a stretcher and place the pieces of the painting next to each other on the wall so that the painting looks solid. The peculiarity of such a division of the overall picture into segments is that even the most ordinary image in this case acquires special expressiveness.

Step 3
Embroider the future painting on fabric, canvas. Depending on your embroidery skills, you can embroider complex patterns or very simple ones, consisting, for example, of plant stems and colorful buds on them. Place the embroidery picture in a wooden or plastic stretcher, in an openwork frame in a vintage style, or simply leave the picture on the hoop, hanging the craft on the wall using it.
Step 4
Combine embroidery with applique. Take as a basis some plot of the picture. Cut out the details of the picture you like from colored rags of fabric and glue them with decoupage or textile glue on the fabric to get the original picture. Complete the image with embroidery. Frame the resulting picture and hang it on the wall or on a shelf.
Step 5
Try to create a collage picture. You can make such a work on a piece of Whatman paper. Clippings from colored magazines, favorite photographs, postcards of various sizes are pasted on it. Then thin wooden slats are nailed along the edges of the collage and the collage is fixed on the wall. You can make a collage painting on a piece of cork board. The details of the future picture can not be glued to it, but attached with decorative carnations.
Step 6
A picture can be created from any materials at hand. For example, to stick on a flat surface of whatman paper, canvas or cork cover various materials at hand, laying out patterns, pictures, stories from them. Use for these purposes beads, buttons, beads, pieces of satin, coffee grains, dyed cereals and other substances and objects.


