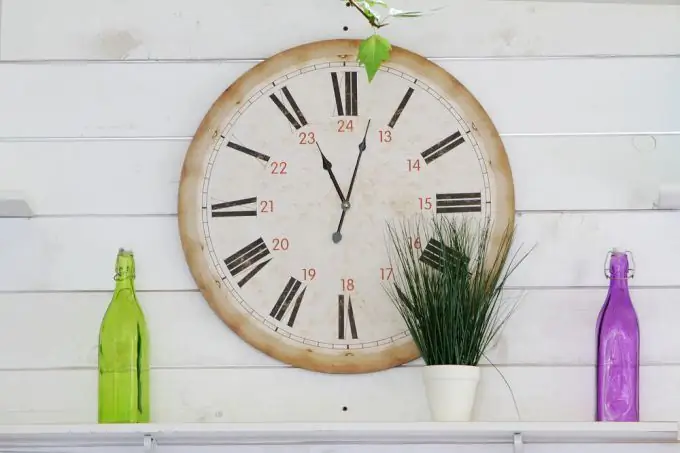
The wall clock is one of the few accessories that can completely transform the interior. Unfortunately, designer watches are quite expensive. But an exclusive can be made with your own hands, and from readily available materials.

One of the original options will be a watch with arrow-feet by John Cleese from the Ministry of Silly Walks. Aged in black and white, they will fit into any style, and therefore are a versatile accessory.
To make them, you will need a clock mechanism with arrows, a square canvas with sides of 20 centimeters, decoupage glue, a brush, printed and cut numbers for the dial and an image of John Cleese, an awl, nippers, scissors, a scalpel, PVA glue, a black felt-tip pen and plastic …
It should be immediately noted that for these purposes it is better to use harsh plastic so that it is difficult to bend, for example, covers from plastic binder folders.
First of all, you need to print the image of John Cleese and the numbers for the future dial and cut the sheet to size 21x21 cm. It is best to do this using a laser printer - in this case, the ink will not flow.
The image should be slightly moistened with water and allowed to absorb. In parallel, you need to apply glue to the canvas. Then the image must be very carefully glued to it, smoothed out, covered on top with another layer of decoupage glue, firmly press the edges of the paper and leave the blank to dry. After it is completely dry, you can cover the image with a final layer of glue.
Next, you should cut out John Cleese's legs according to the template, leaving a small margin of about 5 mm along the contour, and moisten in the same way with water, allowing it to be absorbed. After a couple of minutes, they need to be glued to a piece of plastic, smoothed, covered with a layer of decoupage glue and left overnight so that the workpiece is completely dry. In the morning, the drawing can be carefully cut along the contour with a scalpel.
If at the same time it turns out that when the plastic dries a little "led" and it bent, it is easy to fix it by sticking a sheet of cardboard on it from the back side.
You need to make a hole in the center of the canvas using an awl. Through it from the back side, insert the clock mechanism and secure it with a nut.
Next, you need to place the clock hands over the legs cut out of plastic. Those places where holes for fastening the arrows are planned should be marked with a pencil. If the arrows turn out to be slightly longer than the blanks of the plastic legs, they can be cut a little, and then the figurine's legs can be glued onto them. After the glue has dried, the arrow-feet can be permanently attached to the dial. If necessary, the fastening nut can also be painted black with a marker.
There are many options for making watches. As handy materials for the dial, you can use a cut of wood, vinyl records, embroidery hoops with fabric stretched over them, service plates and other similar items. The numbers can be printed on a printer, as in the above-mentioned option, or they can be drawn or even replaced with other elements: buttons, beads, beer caps. The only thing that remains unchanged is the movement and the batteries for it.
The clock can be made both in the wall version and in the table.


