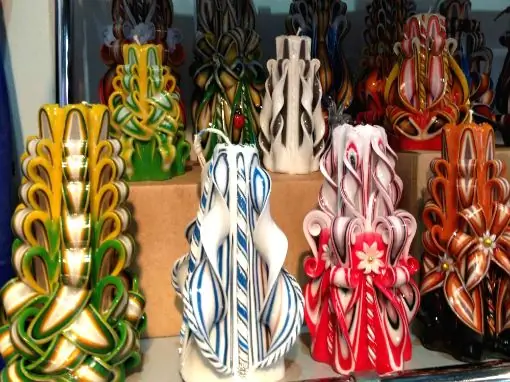
Making candles with your own hands is very exciting. Elegant multicolored carved candles will become a lovely and original souvenir or gift for any occasion.
It is necessary
- - paraffin (wax, candle remnants);
- - forms for candles;
- - cotton cord for the wick;
- - dyes for candles (colored wax crayons);
Instructions
Step 1
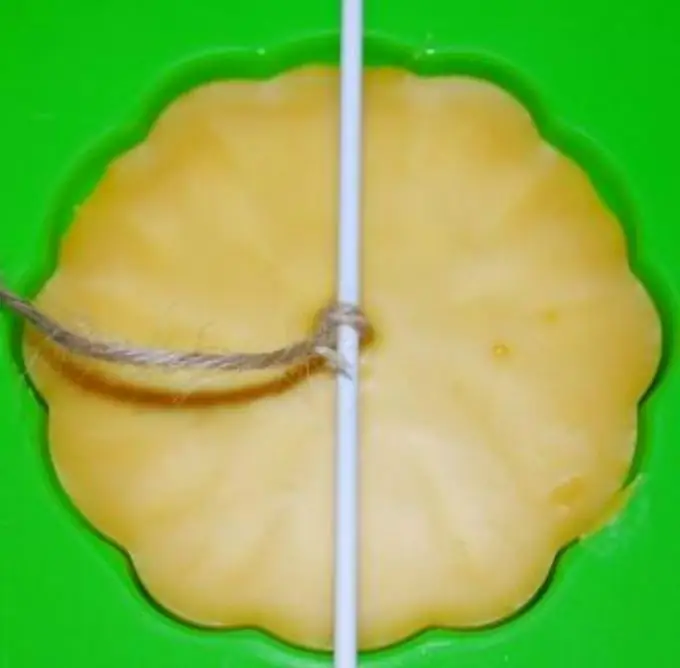
Create a carved candle blank. Melt the wax (candle pieces) in a metal bowl (jar) in a water bath, until completely melted. Prepare a candle holder, for example, a yogurt glass. Make a hole at the bottom of the glass and pull the wick through it. Cover the hole to prevent the wax from leaking out.
Step 2
Spread some vegetable oil (dishwashing liquid) over the candle mold to easily remove the finished candle. First, you can fill the bottom of the base mold with a mixture of paraffin and stearin, since this composition provides the candle with a bright and even burning. When the wax hardens, fill the candle completely. Leave the workpiece to cool at room temperature. Free the candle blank from the mold.
Step 3
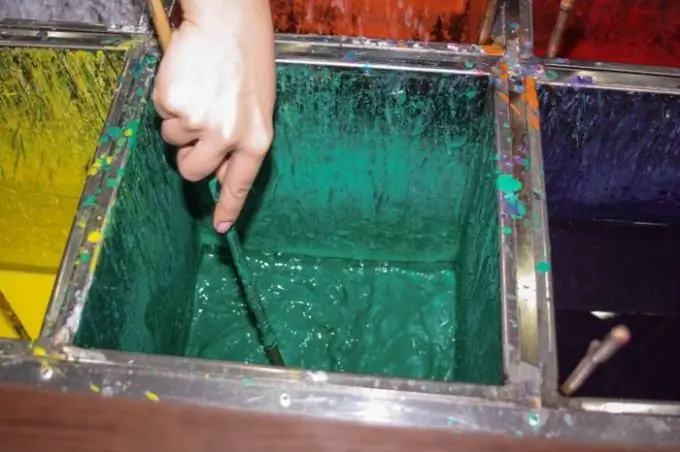
Prepare dyes or grated colored wax crayons. Pour melted wax into a container with crayons (dye) and mix everything thoroughly. Pour the colored wax into deep enough tubs. Each container contains wax of a certain color.
Step 4
Baths with colored wax must be constantly heated or kept at a temperature stable around 90 ° C. It should be borne in mind that at higher temperatures thinner layers are formed. And at a lower temperature, it is possible to make thick layers and, by reducing their number, display a simple pattern.
Step 5
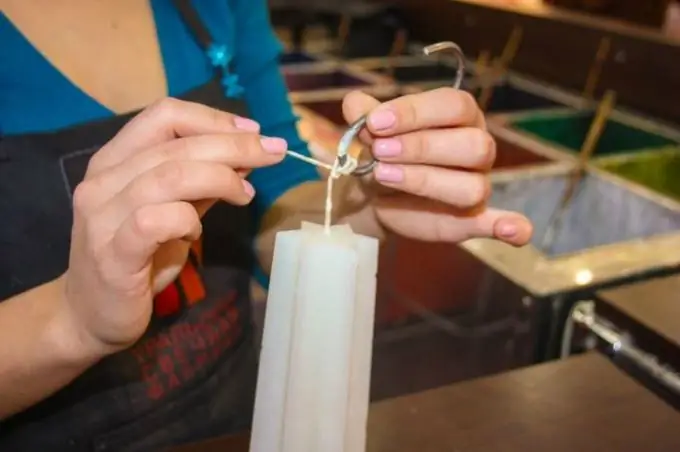
Attach the candle blank to a piece of wire and periodically lower it into a container of a specific color. If the drawing requires that the colors do not mix, finish each color with a layer of white paraffin (wax). If you want to get a light green color, then immediately lower the yellow blank into green paraffin.
Step 6
Pause between two baths and let the previous layer dry. You can speed up the process by dipping the workpiece in cold water after dipping again in hot wax. You cannot wait long for the previous layer of the carved candle to completely freeze. This will interfere with further carving of the pattern on the candle. If you apply more layers of wax, you can create a complex pattern in place of the cut.
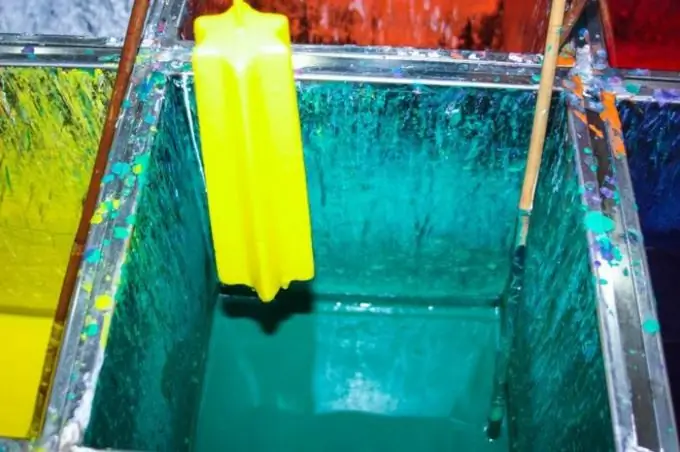
Step 7
Next, start cutting the candle. This is the most important and short-term procedure. It will take about 20 minutes for it to beautifully and efficiently cut the pattern on the candle. As long as the paraffin is soft, it can be cut and bent as desired. Having made the first cut from the bottom up with a knife, cut out the petal of the required thickness and wrap it up.
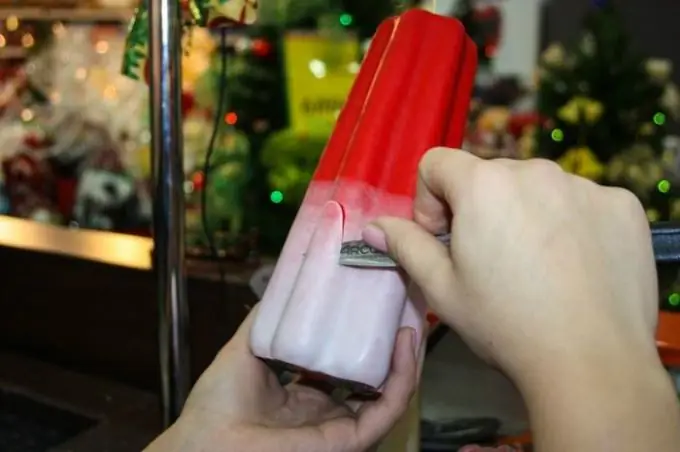
Step 8
When the first row of curls is ready, proceed to the next row using a regular sharp knife and a special knife in the shape of a loop. In the process of creating the elements of the pattern, you get - thick stripes in the grooves, like grooves, curl petals, which turn into pretty "snails" and spirals.
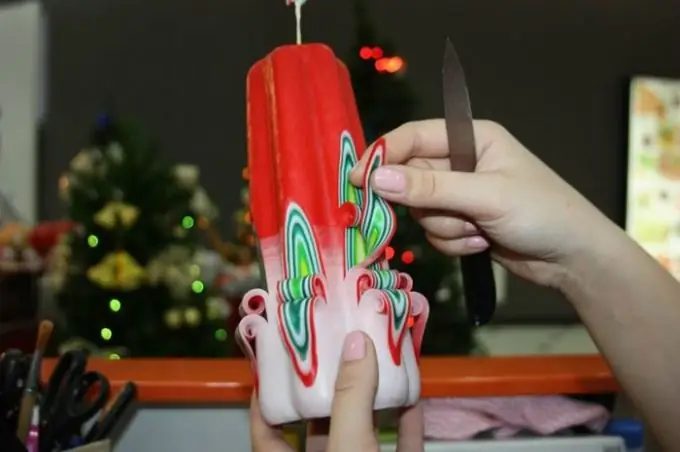
Step 9
The first attempt at making an original carved candle can be unsuccessful. Therefore, you should practice cutting on workpieces that have not yet been painted. They should be preheated to a plastic state in the microwave or with a hair dryer. The main thing is to make sure that the wax does not overheat.
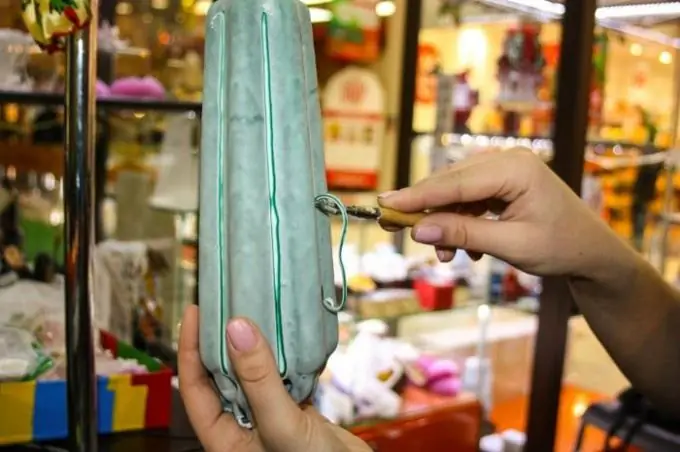
Step 10
Cut out a small, small wick tray at the top of the finished candle. Make an even cut of the base so that the candle stays firmly on a horizontal surface.


