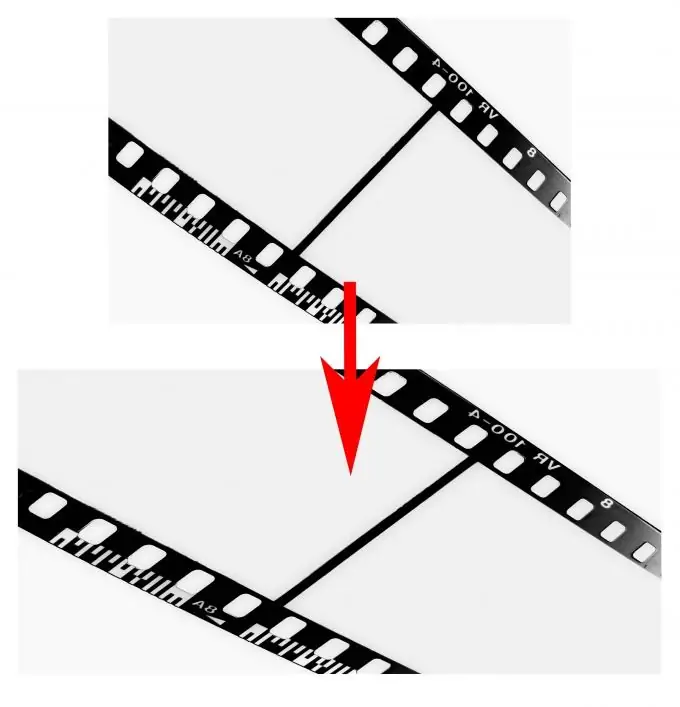
Photo lengthening is a simple procedure, but it still requires some skill. In particular, when doing this in Adobe Photoshop, you should be aware of the Free Transform command.

It is necessary
Russified version of Adobe Photoshop CS5
Instructions
Step 1
Launch the Adobe Photoshop CS5 editor and add the required photo to it: click the "File"> "Open" menu item (or click the Ctrl + O hotkeys), select the desired file and click "Open". We will orally designate this document as D1.
Step 2
Click Image> Image Size. In the window that opens, there will be fields "Width" and "Height", remember these values - these are the dimensions of the image that you added in Photoshop.
Step 3
To open the window for creating a new document, click the menu item "File"> "New" (or using the hot keys Ctrl + N). Leave the height the same as for the photo, the dimensions of which you determined in the second step of this instruction, and make the width about one and a half times larger. Click OK. We will orally designate this document as D2.
Step 4
Select the Move tool (hotkey V), drag the image from D1 to D2 and align it to the left.
Step 5
Call the free transformation command. This can be done in two ways. First, click the Edit> Free Transform menu item. Second - click the hotkeys Ctrl + T. Transparent square markers appear on the sides and corners of the layer. Move the cursor over the marker on the right side of the image. The cursor turns into a double arrow. Hold down the left button and drag the mouse to the right to the very edge, thereby stretching the image. Press Enter to commit the result.
Step 6
To save the result, click the "File"> "Save As" menu item (or use the Ctrl + Shift + S hotkeys), select the path for the future file, enter its name, specify Jpeg in the "Files of type" field and click "Save".
Step 7
To undo the previous action, use the hotkeys Ctrl + Z. To undo more than one action, use the History window (Window> History menu item).


