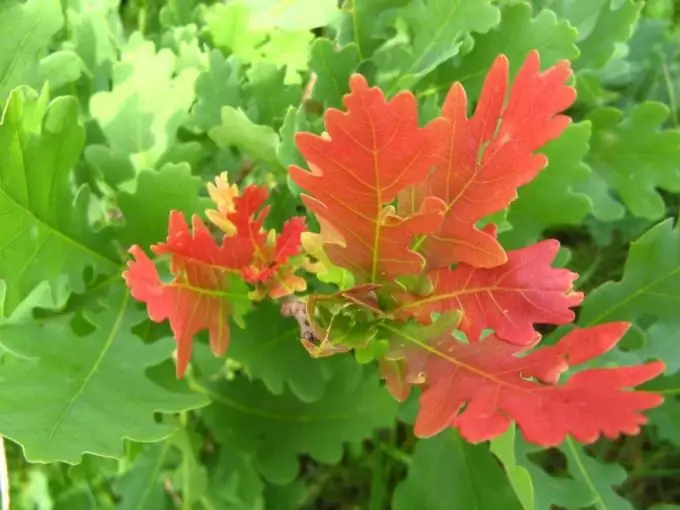
Leaves of different tree species are ideal models for teaching drawing. Their shape, on the one hand, is clear and symmetrical, and on the other, not too simple, consisting of several elementary forms. Drawing leaves allows you to hone not only the skills of building shapes and their proportions, but also the ability to select and mix colors, convey the texture of the material and many others. Oak leaves have an interesting recognizable shape that fits into a simple oval.

It is necessary
- - drawing paper;
- - a simple pencil;
- - eraser;
- - paints, brush / colored pencils / pastels.
Instructions
Step 1
Think about how to arrange your drawing on a piece of paper. Draw the axis of symmetry of the oak leaf with a pencil - a line at the angle you choose. This line will then become the central vein of the leaflet.
Step 2
Focusing on the drawn axis of symmetry, draw an oval that is elongated and narrowed at one end. To do this, mark approximately equal distances on both sides of the centerline, corresponding to half the width of the oak leaf. On the axis itself, mark the length of the sheet in proportion to its width. Connect the found points with smooth lines forming an oval, one end of which make it narrower.
Step 3
More specifically, draw a central vein inside the oval, passing at its narrow end into the "tail" of the leaf. Draw lateral, thinner ones from this vein - they are directed at an angle of about 45 degrees to the central one.
Step 4
Now draw the characteristic wavy edges of the oak leaf. To do this, draw a small semi-oval above each side vein, and smoothly combine the intervals between them with small curves.
Step 5
Gently erase the auxiliary lines of the outer oval. Add even finer lines on the side veins. Make the middle vein and the "tail" into which it goes thickened by drawing a line duplicating it next to it.
Step 6
You can paint an oak leaf with different materials, but the principle will be approximately the same in any case. First, set the basic, relatively light and light tone of the leaf: leafy green in summer, or yellow-orange, ocher-brown in autumn.
Step 7
In some places, add spots of a slightly different shade to make the color of the leaf more interesting and lively. The most beautiful transition effect of colors when mixing them can be achieved using watercolors.
Step 8
Work through the veins with a darker shade of the base color. If you paint with paints, then use a thin brush for this. Leave the central part light on the thick vein - this will give it volume. Add more shadows closer to the edges of the sheet, and highlight some parts, on the contrary. Make the leaf more embossed.


