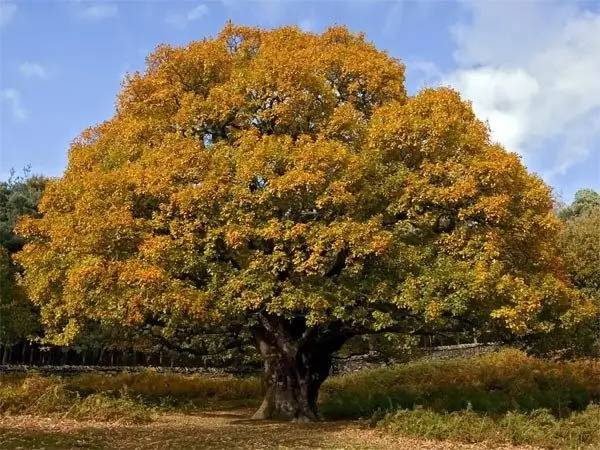
Oak is a tall, sturdy tree with a powerful trunk and a spreading crown. For some peoples, it is considered a symbol of strength and firmness. Under the oak tree a learned cat, telling fairy tales, wanders, fairy princesses and terrible robbers live in oak forests … In short, if you are going to illustrate fairy tales or make theatrical scenery, you just need to learn how to draw an oak tree.

The main thing is the shape of the crown
The oak crown is dense and lush. There is no point in drawing each branch separately. If you imagine an oak on a plane, it turns out that it is slightly larger in width than in length - with the exception of very young trees, of course. Therefore, it is better to lay the sheet horizontally.
To better navigate on it, draw a line of the ground, stepping back slightly from the bottom edge. Having stepped back from this line a couple of centimeters up, draw a large irregular circle with a hard pencil. It is better if it turns out to be curved and slightly flattened at the bottom, because the crown of the oak has an irregular shape.
Mark the position of the trunk with two short, straight lines between the crown and the horizontal. The distance between the segments should be large enough, because the oak has a powerful trunk.
It is better to draw with two pencils. A hard lead is needed only for general contours, everything else is done with a soft pencil.
How to hold a pencil?
An aspiring artist usually holds a pencil in the same way as when writing. There is nothing wrong with that, while working you should feel comfortable and think about the drawing, not about the materials. But some strokes are more convenient to perform if you hold the pencil by the tip opposite to the sharpened lead.
The hand moves freely, and the lines are confident and clear. It is in this way that you need to circle the crown - a fast continuous accordion. You can start from anywhere, but preferably from the trunk.
The strokes should fit tightly to each other, then the crown will appear fluffy.
Determine the directions of the branches
The branches of the oak are thick and strong. Note that they are not always visible between the leaves. It is not necessary to draw each branch - it is enough to define their directions. If you are not very confident in yourself, do it with a hard pencil, barely noticeable strokes, and then draw in the same way that you outlined the crown. Only the strokes should be shorter and denser, with stronger pressure.
The final stage
Now all you have to do is draw the leaves. Do I need to transfer the shape of an oak leaf? It depends on the circumstances. For example, if you have a very large drawing, the leaves that are closest to the viewer can be at least schematically given the desired shape.
If the tree is far from the viewer, it is better to avoid unnecessary details. In this case, you can do one of the following:
- shade the crown in a circular motion;
- rub the lead on fine sandpaper, sketch a few spots inside the crown, pour the grated lead into it and rub it with a piece of paper;
- fill the crown with short straight strokes going in different directions.
In all cases, foliage in different areas will have a different density, which is what is needed when depicting a living tree. After that, you just have to circle the trunk with a soft pencil and clarify the horizon line.


