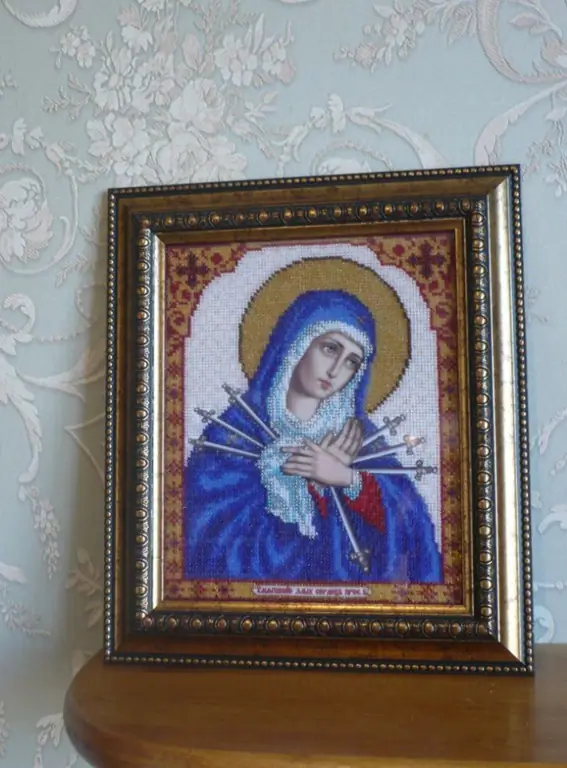
The embroidered work looks unfinished without decoration. You can decorate the embroidery at the baguette workshop. Usually professional craftsmen work there, but the design is not cheap. You can arrange the embroidered icon in a ready-made frame of a suitable size.
It is necessary
Finished frame with glass, embroidered work
Instructions
Step 1
Choose a frame for your finished work. As a rule, the internal size is indicated by the manufacturer in the product information. It should be 5 - 7 mm larger in height and width than the size of the embroidered cloth.
Step 2
Give the embroidery a rectangular shape by pulling slightly in the desired direction.
Step 3
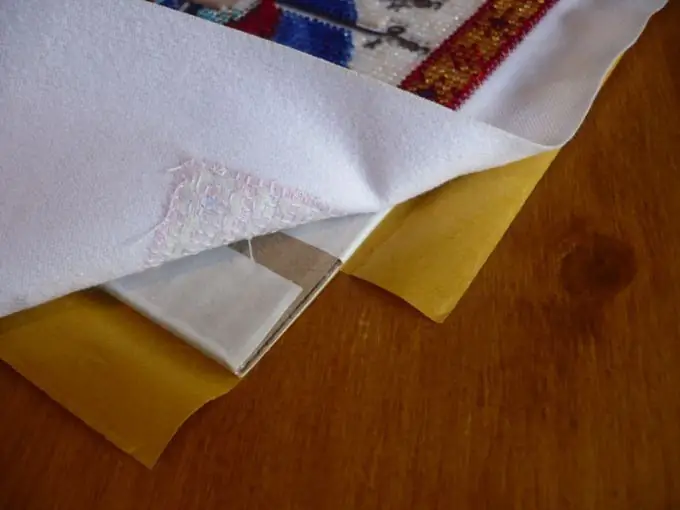
Peel off the tape on one side of the cardboard to which the embroidered cloth will be attached. In this case, the tape on the back side does not need to be touched.
Step 4
Attach the seamy side of the embroidery to the glue strip so that the embroidered fabric is 3 - 4 mm from the edge of the cardboard on each side. Slightly fix the canvas and try on to the frame - put the blank in the frame and make sure that the pattern is evenly located, without distortions and does not show through the empty fabric.
Step 5
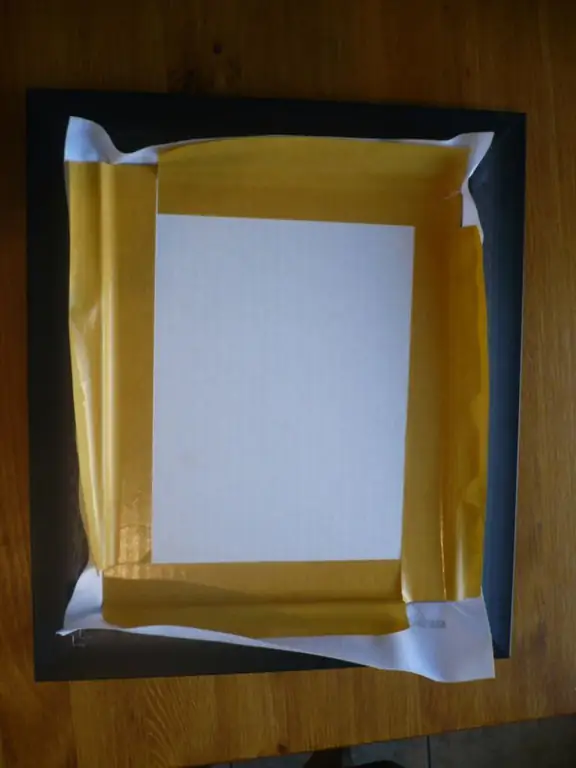
Peel off the tape from the back of the cardboard and glue the edges of the fabric on both sides.
Step 6
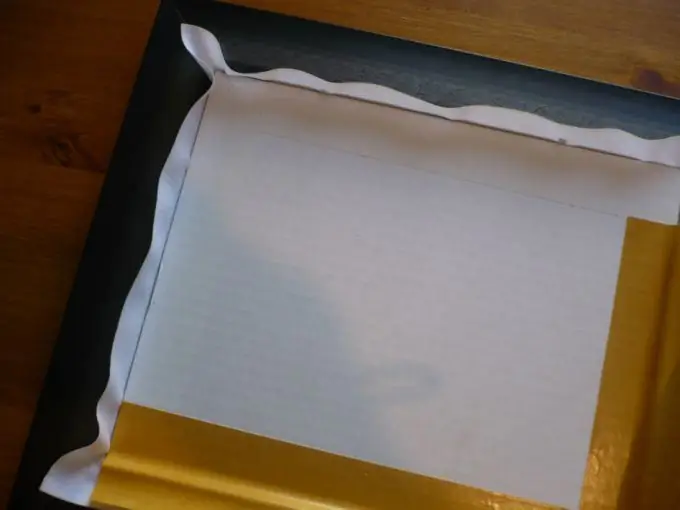
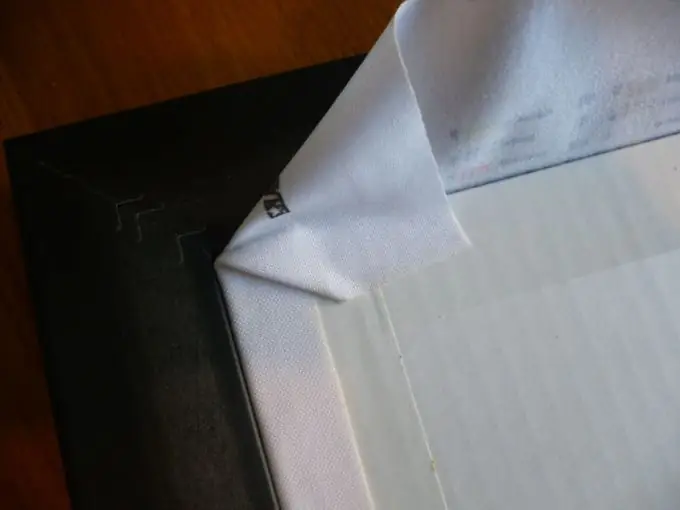
Carefully fold the folds of the fabric in the corners and secure to the adhesive.
Step 7
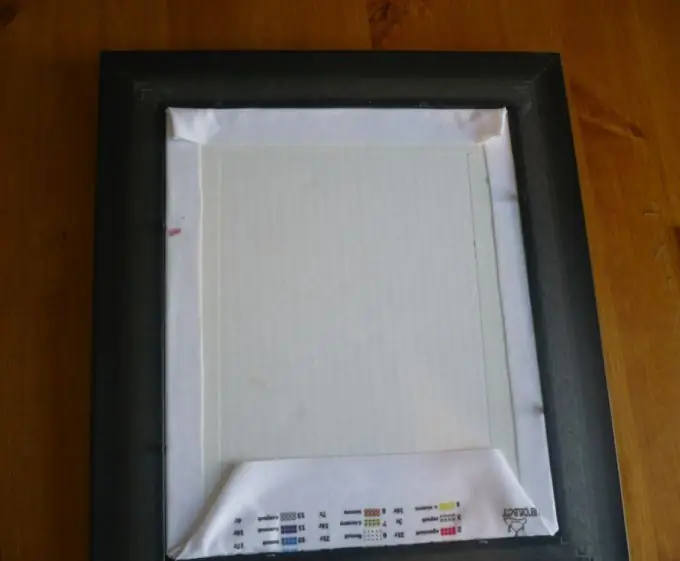
Glue the edges of the fabric on the other side.
Step 8
Check if the canvas has shifted in the frame. Cover the edges of the canvas and the cardboard with an outer sheet of cardboard. Bend the metal brackets.
The work is ready.


