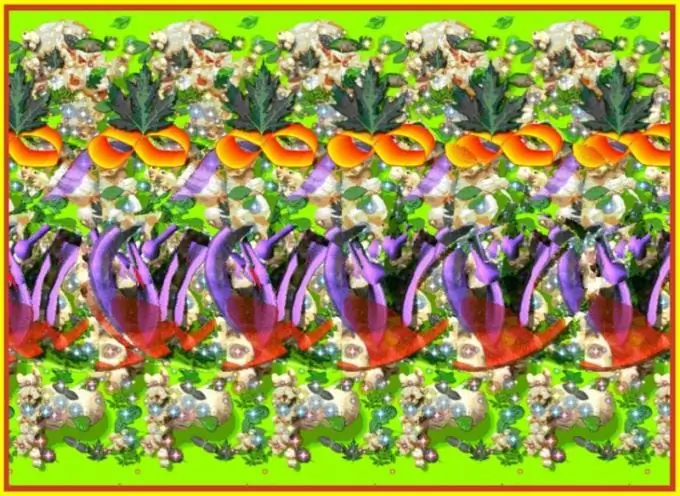
Stereo pictures, or in other words, stereograms are specially created images, behind the visible meaningless drawing of which three-dimensional figures are hidden. To see the hidden image, you need to defocus your gaze. Someone is given it the first time, but someone needs to train for a long time. You can make stereo pictures yourself, but for this you need a special program.

It is necessary
- - a program for creating stereo images;
- - a picture of depth;
- - a picture for the outer shell.
Instructions
Step 1
Install on your computer a special program for creating stereoscopic images, for example, Stereogram Workshop, 3DMiracle, Popout-Pro or another.
Step 2
Select a picture file that will contain information about the depth of the future stereo image. The brighter the point, the closer it will appear in the finished picture, and the darker, the further away. If you have such a picture, just specify the path to it via the File -> Load Depth Image menu.
Step 3
If you want to create a depth image yourself, use any graphics editor such as Photoshop. With the editor open, fill the background with black and paint black-white-gray objects of varying brightness on it. You can also use the finished image by converting it to black and white. First, let the image be as contrasting and easy to read as possible.
Step 4
Next, load a texture to create an outer, visible shell, the so-called depth mask. If you don't have a depth mask or want to make one yourself, use a special utility, for example, 3DMonster. In addition, you can take any small (no more than 256x512) image, the optimal file extension is *.bmp. It is better if the texture is not too fine; coins, pebbles, berries, etc. will do. The color of the mask should not be too contrasting and bright in order to enjoy the finished stereo image.
Step 5
Find in the settings the distance between the repeating elements (Distance between eyes) and select the optimal value. The default value is 1.5 inches, but if the volume is difficult to see, decrease this value to 1.3-0.7. Note that as this distance decreases, the effect of depth on the image will also decrease.
Step 6
Adjust the density of dots per inch (Resolution). If you will be viewing pictures on a regular monitor, set the parameter to 72 or 96 DPI, and for printing on a printer, increase the density to 300 DPI.
Step 7
In the texture settings, check the Use Texture checkbox for the program to use the proposed file. Then click the "Convert" button and save the resulting stereo image file with the usual extension, *.bmp or *.ipg.


