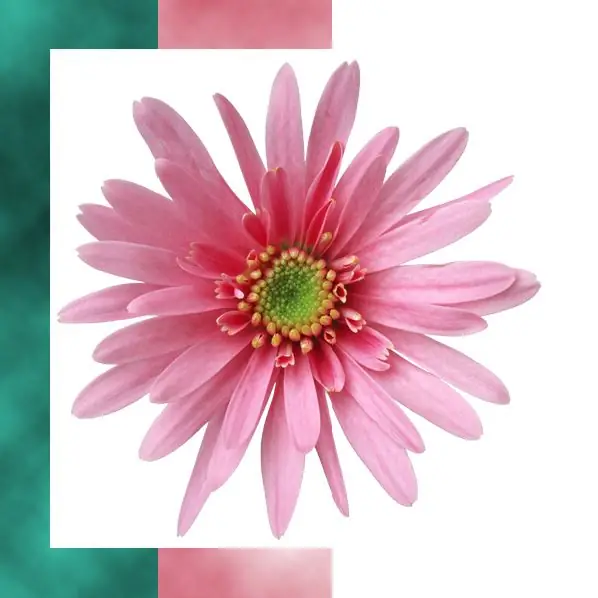
Any image with a frame looks better than without it; framing can give the picture a special uniqueness. The color of the frame can contrast with the color gamut of the image, complement it or shade it, focusing on the picture. Edging the image using various textures will allow your work to sparkle with new colors, to give it a logical completeness. You can easily make a colored frame for your picture in Photoshop, spending only a few minutes on it.

It is necessary
- - Photoshop program
- - be able to use the Eyedropper tools
- - be able to create and move layers
Instructions
Step 1
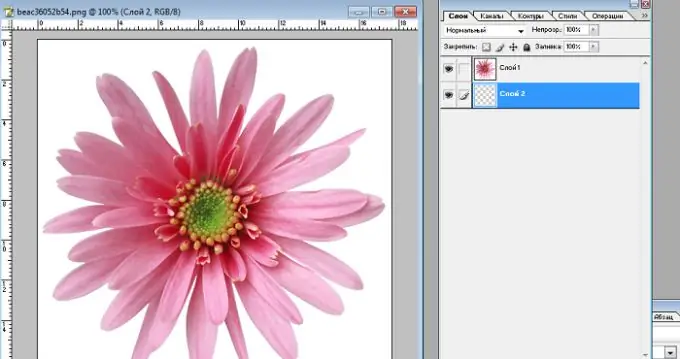
Open the image in Photoshop. Rename the single layer with any word or number (usually it is named "Background") by double-clicking on its name; to remove protection and be able to perform any actions with the plane of the picture. Create a new layer and move it under the picture layer. The created layer will be needed to place the background of the future frame on it.

Step 2
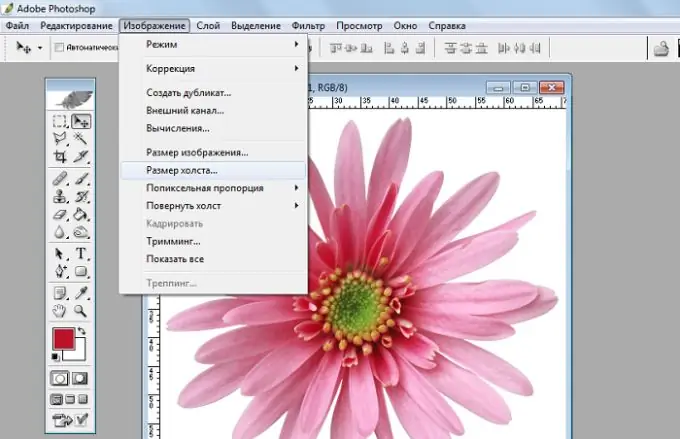
Resize the image canvas using the Image - Canvas Size command. Select pixels as the unit of measurement for the sides of the picture and click the checkbox next to the word "Relative" (the canvas size will change relative to the size of the image). In the "Width" and "Height" fields, enter the same value equal to the width of the required frame. After resizing the canvas, a frame with a transparent background should form around the picture, since the canvas is not the image itself, but the plane on which it is placed. When the canvas is resized, the image is not resized.

Step 3
To correctly calculate the size of the frame, be guided by the overall dimensions of the sides of the image. For example, if the width of the image is 500 pixels, the height is also 500 pixels, then a frame with a width of about 100 pixels is suitable for the picture. The border should not be too narrow or too wide.
Step 4
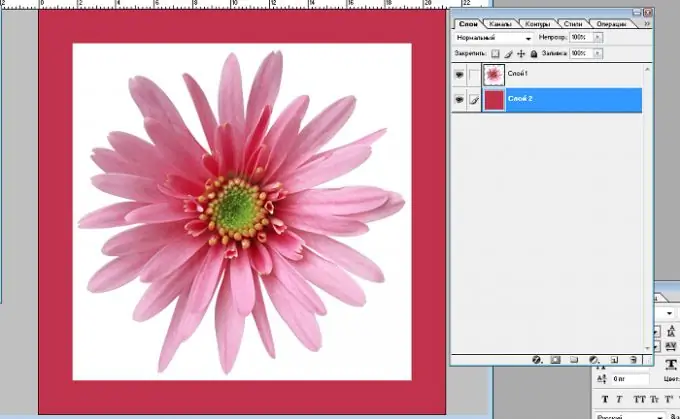
Select the desired color for the frame with the Eyedropper tool and fill the lower layer with the Fill tool with the selected color.

Step 5
To add texture to the background of the frame, use the commands "Filter-Rendering-Clouds" (cloud effect), "Filter-Texture-Stained glass (or Mosaic fragments)" (mosaic effect), "Filter-Texture-Grain" (grain effect), "Filter -Texture-Craquelure "(relief surface effect). Perform these actions with the selected layer on which the background of the frame is located.


