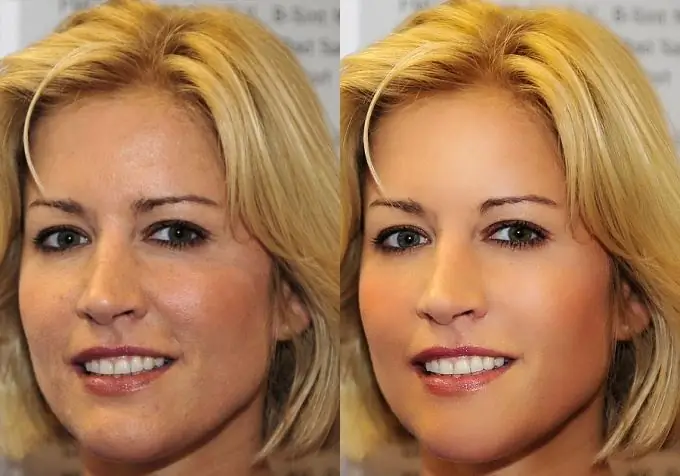
In most cases, not only on amateur, but also on professional cameras, frames are obtained as a kind of semi-finished product - in order to achieve the maximum quality and beauty of the image, photographs need to be retouched, equalizing the basic tone and color of the skin, eliminating imperfections and defects in appearance, making the photographs more stylish view. You will learn how to carry out a simple retouching of any photo from our article. For retouching, you need the installed graphics editor Adobe Photoshop.

Instructions
Step 1
Open the frame you want to edit in Photoshop. Start with the color correction that any photograph needs, and then see if the person in the photo has any imperfections or red-eye in the photo. All these flaws can be corrected with retouching.
Step 2
For color correction, open the Image menu, select the Adjustments section and then Levels. Adjust the levels of the photo by moving the sliders in the window that opens until you are satisfied with the result.
Step 3
Now press the Q key to go into quick mask mode. From the toolbar, select a brush, set the size you want, and paint over the areas that need retouching - the face and neck. Leave your eyebrows, eyes and hairline unpainted.
Step 4
To exit Quick Mask mode press Q again and then press Ctrl + Shift + I to invert the selection. Click on the selection with the right mouse button and choose Layer via copy to copy the selection to a new layer.
Step 5
After that, open the filter menu and select Surface blur in the Blur section. Set the appropriate parameters while watching the changes in the preview, then click OK and select the Grain filter in the textures tab of the filters menu.
Step 6
Remove small spot blemishes with the Spot Healing Brush. This is the easiest way to start photo retouching - later, having mastered it, you will be able to process photos with more complex methods.


