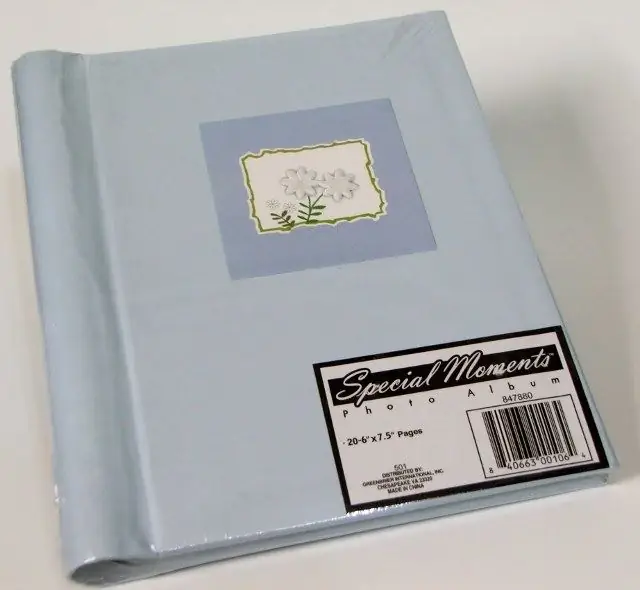
Even the most interesting and dear to heart photos can look unprofitable in a boring photo album. You can correct the situation with your own hands. Connect the child with his irrepressible imagination to work and together transform the album, which contains the baby's photos.

Instructions
Step 1
Select a theme for your photo album. You can choose the one that especially captivates your child. For example, for a young lover of astronomy, design a "space" album.
Step 2
Determine how the photos will be positioned on each page. You can stick them traditionally, in several rows, and leave a frame around the perimeter and decorate it. In this case, use a ruler to draw a frame on each sheet. You can also add each photo to the album design. For example, place them in the portholes of painted rockets, in the windows of houses, etc., depending on the theme of the album.
Step 3
Prepare the background. If you are not satisfied with the color of the pages of a standard album, you can cover them with colored pastel paper. Use PVA glue for this. After all the pages are glued, line them with thick paper, close the scrapbook and place it under the press to dry and straighten the paper.
Step 4
While the album is drying, come up with the design of each page and the technique for the drawing. If you are good at drawing, develop sketches on a separate sheet. Subsequently, it will need to be transferred to the photo album and colored. When in doubt about your artistic ability, choose a different technique. The elements of the picture can be cut out of colored paper or cardboard. For simple symbols, make stamps - cut out stars, hearts, etc. from an eraser. The part that needs to be filled with paint remains convex, the rest of the elastic is cut off half a centimeter with a paper knife. Ready-made stamps are also sold in art stores.
Step 5
If you find a beautiful pattern on the Internet, print it out at the correct scale and cut it out with a stationery cutter. The cutout frame can be glued to the pages of an album. It will look good on paper of a contrasting color, for example, a carved chocolate-colored frame on pages of a light blue hue.
Step 6
Apply your prepared drawings or designs to the pages. When the decor is dry, fill the album with photos. Stick them or paste them into special corners. Corners in different shapes and colors can be found in the scrapbooking section.
Step 7
If you don't like purchased photo albums, make them yourself. Fold the sheets of the desired size into a stack, clamp with clamps 3 cm from the edge and drill the holes for stapling the pages. Cover the spine with glue, and then stitch the album with thick synthetic threads. Glue the cover on top or leave the spine open.


