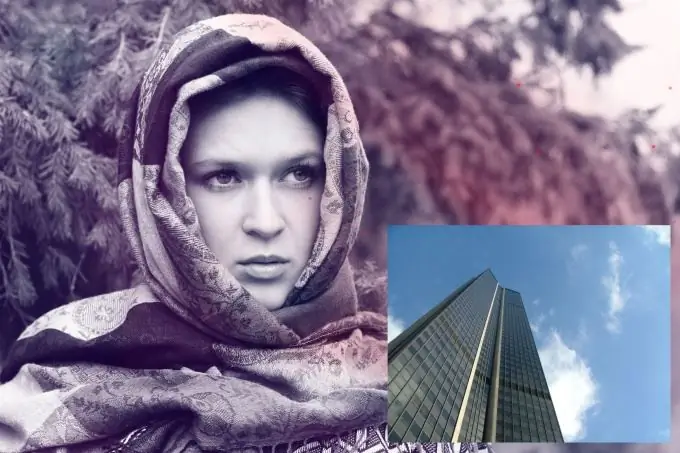
Manipulation with layers is one of the most basic elements not only in graphics, but also in video editors such as Adobe After Effects. Monstrous Adobe Photoshop is no exception.

It is necessary
Russified version of Adobe Photoshop CS5
Instructions
Step 1
Launch Adobe Photoshop and open the required files: press the key combination Ctrl + O, select pictures (photos, posters, banners or other graphic images) and click "Open". If the pictures are in different directories, the action will have to be repeated.
Step 2
Now the program contains several different documents, there are as many of them as the pictures you have opened in it. Make one of them active. Select the Move tool (hotkey V), hold down the right button anywhere in the image, drag it to the adjacent document and release the button. If the photos are arranged in a tabbed way, drag the image first to the tab, wait a couple of moments for the "destination" to open, and continue moving.
Step 3
Now let's start editing pictures. If any of the images is too large or too small, first select it in the list of layers (if it is missing, press F7) and press the key combination Ctrl + D. Square handles appear on the edges and sides of the active layer. Hold Shift (to maintain the proportions) and the left mouse button on one of the corner squares and drag it in the required direction: outward - to enlarge the image, inward - to reduce it. Press Enter for the changes to take effect. Before transforming the background, you need to turn it into a regular layer: double-click on it and immediately click "OK" in the window that appears.
Step 4
If one picture is hidden behind another, you can change their location in the list of layers. Just drag one layer below the other, or vice versa, higher, depending on which layer you are dragging.
Step 5
Now you can save the result: press the key combination Ctrl + Shift + S, specify the path to save the future file, give it a name, determine the type of files and click "Save".


