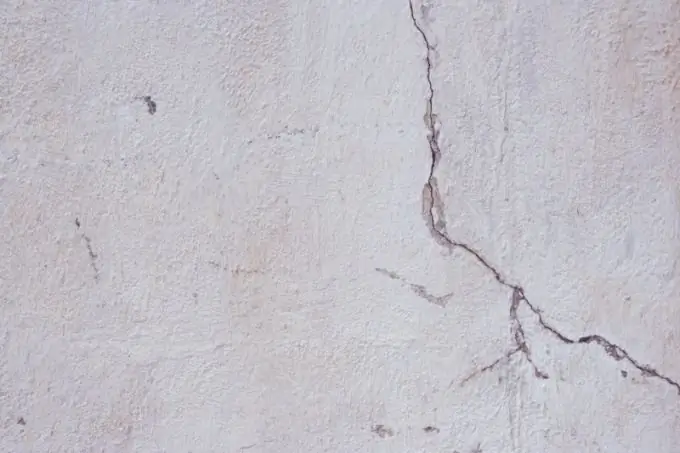
Processing photos using Photoshop software allows you to make these pictures extraordinary. What is worth only a photograph, decorated with beautiful peals of lightning, or with an original painted crack.

It is necessary
- - the photo;
- - personal PC;
- - Photoshop software.
Instructions
Step 1
Start Photoshop on your computer and open a photo in which you will draw a crack: this can be, for example, a photo of a house in a village.
Step 2
From the Photoshop toolbar, select the Pencil tool and set the diameter to 1 PX. Then, by clicking on "Create a new layer", create a new layer and name it "White crack".
Step 3
While holding the left mouse button in the upper left corner, drag the crack by drawing it about 1/5 of its planned length. Then release the left mouse button and, without moving the manipulator, press "]" on the keyboard (this action will increase the diameter of the pencil used). Continue drawing from where the mouse cursor left off. Draw another 1/5 part of the crack and release the manipulator button again, and then press "]". As a result, the crack should be drawn with five pencils with different diameters.
Step 4
Make sure to draw the crack with smooth curves and sharp corners. If it is too sharp, use the Add layer mask to soften the sharp parts of the crack a little.
Step 5
Make sure the foreground color is set to black, then paint over the edges of the crack with black paint to make the image more realistic.
Step 6
While holding the layer thumbnail with the left mouse button, drag it to Create new layer. Rename this layer Black crack. Invent the crack by pressing the key combination "Ctrl + I": in the photo the crack will not look as black as in the sketch. Change the Blending Mode of the Black crack layer, setting the opacity to 100% and the Fill to 85%.


