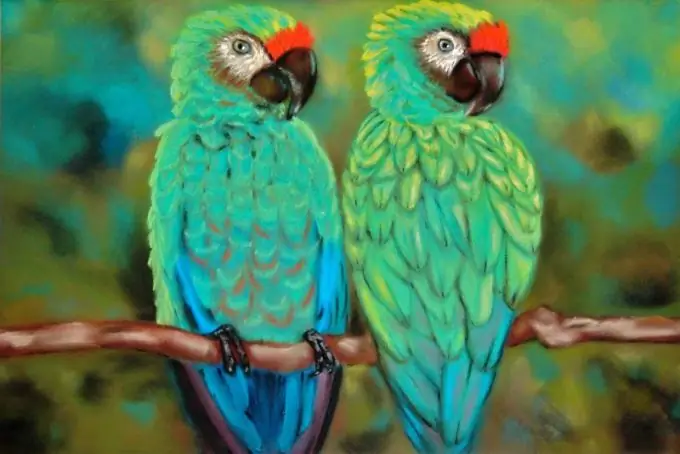
Paper birds are most often made using the origami technique. But a beautiful bright parrot can be made in another way. For example, in the technique of paper plastic or papier-mâché. The parrot turns out to be voluminous. This toy is suitable both for a Christmas tree and for decorating a children's room.

It is necessary
- - thick colored paper;
- - thin colored paper with a sticky layer;
- - napkins;
- - old newspapers;
- - PVA glue;
- - scissors;
- - knife;
- - a picture of a parrot or a toy.
Instructions
Step 1
Consider a picture of a parrot. You will see that the figure consists of several parts. The parrot has a round head, an elongated body, a long tail and large wings. A characteristic detail is a large crocheted beak. To make a paper parrot using the papier-mâché technique, you first need to mold an egg, a ball and a high cone from plasticine. Give the cone the shape of the nose.
Step 2
Cover each shape with a layer of paper napkins. Glue several layers of finely torn newsprint on top with PVA glue. Let the pieces dry, then cut them open and remove the clay. Glue the seams. Connect the parts together.
Step 3
Cover the parrot with different colored paper. You can also paint it with a water-based emulsion, over which a layer of gouache is applied. Do not varnish the toy yet, otherwise it will be difficult to glue the tail and wings. The tail consists of two long triangles cut from thick colored paper. Each wing is an obtuse isosceles triangle with a very large base. Since the wings are located seamy side to the body, it makes absolutely no difference whether you make them from double-sided paper or from one-sided. For example, bright glossy paper with an adhesive layer will do.
Step 4
Think about what to make the paws of the parrot. They can be simply drawn or pasted using the applique technique. After all the details are in place, finish the design of the figurine. Draw or paste over the eyes and nostrils. Cover your creation with varnish, if necessary, attaching a loop to the head.
Step 5
A parrot made of crumpled tissue paper (for example, floral or corrugated) will look very interesting. Lightly grease a piece of such paper with glue. It should not get wet, the glue only fixes the shape that you give. Crumple the sheet to form a paper "testicle". Make a ball from a sheet of a different color in the same way. Fasten the parts with a drop of glue.
Step 6
The nose of such a parrot is best cut from a piece of black or brown cardboard folded in half. However, a toy parrot can have any beak. Stick on the nostrils - two small ovals. Glue the beak to the ball.
Step 7
The wings and tail are made in the same way as in the previous case, only thin paper is better. You can cut the wings with a "comb" or trim the edges with curly scissors.


