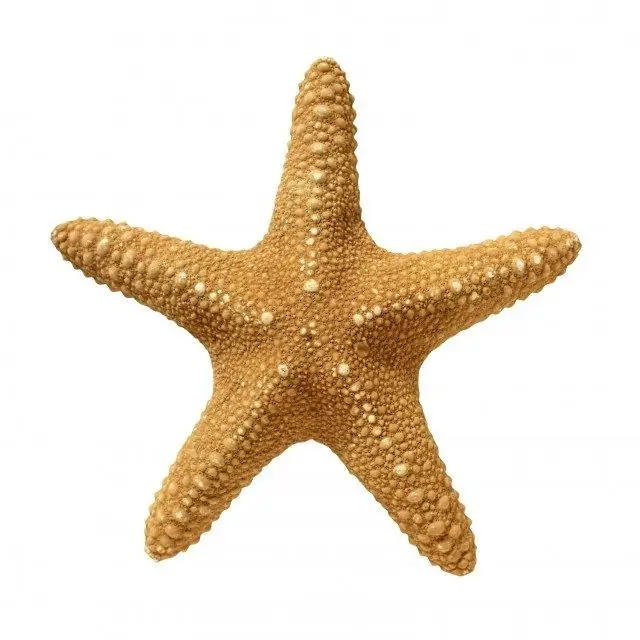
Drawing can help you develop many skills and is also a great way to relax. It is especially useful to depict objects related to the marine theme: they perfectly tune in to thoughts of relaxation and serenity. The easiest place to start is with simple and symmetrical shapes, such as a starfish. Learning to portray her is very simple.

Instructions
Step 1
Before you start drawing a starfish, carefully consider the photographs and illustrations with their image. Pay attention to the number of rays, color, size and texture features. Try to remember what a starfish looks like in water and on land.
Step 2
Determine how many rays the starfish will have. To make them even and symmetrical, at the beginning you can outline their axes. To do this, draw several lines with a simple pencil, intersecting with each other. If you decide to draw a starfish with an odd number of rays, you can gently erase one of the lines with an eraser.
Step 3
Start drawing out the outlines of the rays. To do this, mentally mark a point between the two axes, just above the intersection of all axes and draw a line from it to the top. Remember that a starfish may have uneven, bumpy or even curving rays. Draw in this way all the rays, making them taper at the vertices.
Step 4
After the outline of the starfish is drawn, you can start drawing its texture. Starfish can be smooth, bumpy, scaly, or spongy. In the early stages, it will be easiest to master a smooth or scaly texture. To draw the surface, apply semicircular or angular scales to the contour. Please note that they are larger at the base of the rays, and decrease in size towards the ends.
Step 5
The last step in drawing a starfish is painting it. Keep in mind that to make the image as realistic as possible, you need to pay attention to the correct placement of light and shadow, as well as color transitions. Determine which side the imaginary light source will be on - this part should be lighter, there may even be glare on it. Paint over the opposite side with a darker shade. Additionally, you can apply neat shading - this will make the image three-dimensional.


