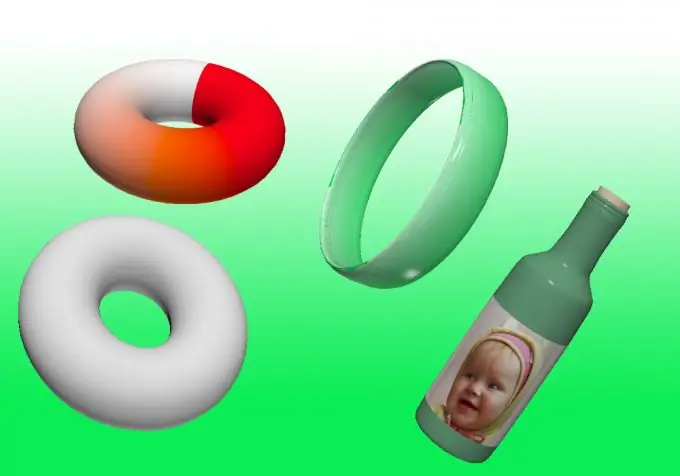
Working with volume is the final stage in creating a drawing. Whatever you work - with chalk and charcoal, pencil and eraser, oil paints or watercolors or a virtual brush in Photoshop - the laws of light and shade are the same in all cases. It is with the help of light and shadow that you can make a detail convex or concave, near or far. Consider working with volume in a graphical editor.

Instructions
Step 1
Working with 3D objects is available in Adobe Photoshop starting from the CS3 Extended version.
Step 2
Open the program and create a new document (Ctrl + N) or open an existing one (Ctrl + O). Be sure to create a new layer on which you will experiment with the volumetric image.
Step 3
Fill the layer with any color. Use the "Gradient" or "Paint Bucket" tool for this.
Step 4
In the top panel, you will see the 3D inscription Hover the cursor over the button: you will see a menu of 3D capabilities that your version of the graphics editor provides. Experiment. For example, using the New Shape From Layer tool, you can deform an existing background into a cube, cone, ring, sphere, soda can, or make an image a sticker on a virtual wine bottle.
Step 5
The created shape can be transformed using the tools that appear in the sidebar when creating a 3D object.
Step 6
In the rendering settings (3D -> Rendering Settings) you can set the possibility of reflection, refraction of rays in the shape.
Step 7
To use the resulting volumetric shape when creating collages, it is better to rasterize the layer. To do this, go to "Layers" -> "Rasterize" -> 3D. It will no longer be possible to change the perspective of a rasterized figure, i.e. it will not be possible to use tools to work with a 3D object. But it becomes possible to work with it as with an image - change color, brightness, contrast, and so on.
Step 8
The program may give you a warning that OpenGL / GPU hardware acceleration is disabled. It is disabled by default on all systems.
Step 9
To enable it, you need to go to "Editing" -> "Performance" -> "Enable OpenGL Rendering"


