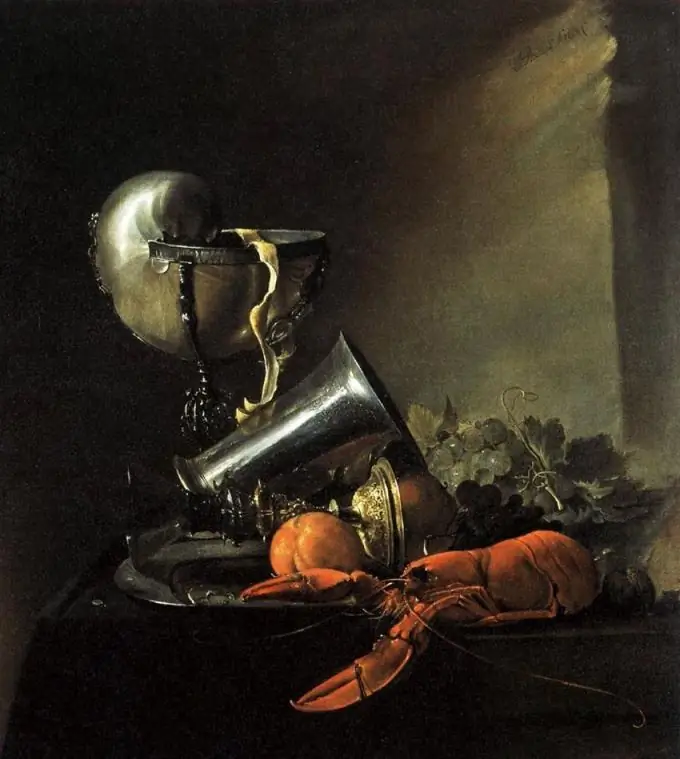
Pictures of professional artists always amaze the imagination: how gracefully and reliably it is possible to depict a huge volumetric world of fantasy or real objects on a flat sheet of paper. What is the secret of this skill?

It is necessary
Drawing materials: pencils, pastels, watercolors, gouache or a blank sheet of a computer graphics editor
Instructions
Step 1
Before drawing a volumetric object, consider it from different angles. How does its shape change from different angles of view, where the light and shadow fall, how this object looks in the neighborhood with its environment, how its color and structure manifest themselves. Be observant.
Step 2
When you start to place sketches of objects on a sheet of paper (for example, if you are painting a still life), remember the concept of perspective: this is the principle of placing objects in space, which allows you to convey volume, distance, size and shape.
It is possible to emphasize the volume well with the help of perspective if you place the main objects in the foreground: they will be clearer, brighter, expressive compared to those that will be left behind.
Do not forget that objects that go into the distance of the picture should gradually narrow and decrease, while their color should fade slightly. It will also help to emphasize reality and extension in space.
Step 3
Pay attention to how the light falls on the depicted object. The light is directed from a certain side, with one facet of the subject becoming more illuminated. In painting and graphics, there are concepts such as "light, partial shade and shadow". According to them, one part of the object on which the light falls should be the lightest, this is the light center of the object. From a bright spot, the paint begins to fade gradually, forming a "penumbra": a smooth transition to the dark, unlit side.
To correctly depict "light, partial shade and shadow" in painting, experiment with shades of the main color of the subject. Add a little yellow to the paint to indicate light, and mix dark or gray shades to show the transition from light to shadow.
If you are working in a graphic manner, use pencils of different qualities. With a hard pencil, you can show the light (it will be dimmer), with a soft pencil you can hatch saturated penumbra and shadows.
Stroke frequency also matters: the closer the lines are, the darker the subject appears.
Step 4
If you paint glossy, shiny objects, glare and reflections are bound to appear on them. Glare - lines of light located exactly in the place where the sun's rays fall. Sometimes the highlights can be so bright that the color of the object itself is not visible under them: it turns yellow.
Reflexes are weak reflections on a shiny surface. Most often, rich reflections are obtained on porcelain and glass. Reflexes will not give a bright reflection like a mirror, but will "imprint" on the object the color or area of the reflected object.
A competent image of highlights and reflexes will help to correctly convey volume.
Step 5
Of course, any volumetric thing in space casts a natural shadow on the surface near which it is located. logic and physical laws.


