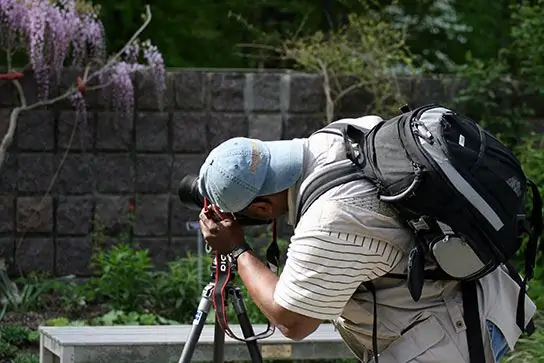
The art of photography has its own secrets and, like other art, requires a lot of experience. Gradually mastering more and more new techniques for creating high-quality photographs, a novice photographer will certainly be faced with the need to shoot a white object on a white background and come to a dead end.

Instructions
Step 1
The main condition for our eye to perceive the shape of a white object is the presence of shadows. When a white object is placed on a white background, the eye automatically perceives one of them as gray (depending on focus).
Step 2
The same principle works for photo optics as well. Therefore, the white balance is important here, achieved by combinations of diffuse and reflected light, which allows you to soften the contrast, while avoiding excessive illumination (overexposure).
Step 3
Preparation for work. First, you need a white background (this can be white cloth, canvas, or a sheet of paper). It is important that the surface is not glossy. Secondly, the illumination (ideally, natural and tungsten light), as well as the flash (better external than built-in). Use a diffuser to avoid highlighting specific areas. Thirdly, you need a table or something else where you can set a background (for a subject photo).
Step 4
Your actions. Fix the background and direct the flash at it (it is more convenient to attach it on top of the canvas).
Step 5
On the left and right, you need to put reflectors of the same material in order to concentrate enough light on the subject.
Step 6
If necessary, attach an optional flash unit to better illuminate the subject from the front (or use the zoom function).
Step 7
Take test shots, adjust the light level and contrast. Try not to aim the flash directly at the subject, it is better to move it left and right, achieving maximum illumination of the subject. Better to set focus manually.
Step 8
Do not be upset if not everything works out the first time, after all, flaws are easily corrected in Photoshop.


