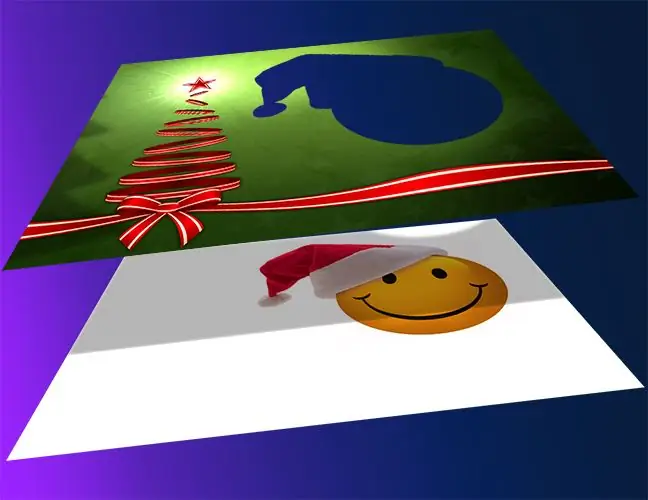
The main difficulties that arise when working with the background in the process of creating a collage are associated with adding a background image to an image that already has its own opaque background. You can solve these problems by masking part of the layer.

It is necessary
- - Photoshop program;
- - image;
- - a file with a background.
Instructions
Step 1
Using the Open option from the File menu, open the image for the new background overlay and the background file in Photoshop. Drag the background into the document window with the object, which is the basis of the created collage, using the Move Tool.
Step 2
If necessary, adjust the size of one of the images. To transform the top layer, apply the Free Transform option of the Edit menu, holding down the Shift key to maintain the proportions of the picture. To be able to resize the lower layer, unlock it with the Layer from Background option in the New group of the Layer menu.
Step 3
To completely replace the original background of the picture, you need to create a mask based on the outline of the foreground object, hiding part of the new background. Turn off the visibility of the top layer with the Hide Layers option of the Layer menu and select the image that will remain in the final version of the collage. You can trace the contours of the object with the Lasso tool or, if the outlines of the object consist of straight line segments, the Polygonal Lasso.
Step 4
You can select a shape with more complex outlines using the Extract filter. Before opening its settings window, add a duplicate layer with the selected object to the document using the Ctrl + J keys and work with Extract on the copy. This will help you to preserve the fine details of the picture even if the filter is not working correctly. With Extract applied, Ctrl-click on the thumbnail of the processed layer to load the selection.
Step 5
Go to the top layer and turn it on with the Show Layers option on the Layer menu. By clicking on the Add layer mask button in the lower panel of the layers palette, hide a part of the new background under the mask. Press Ctrl + I to invert the resulting mask to remove the part of the layer covering the foreground object.
Step 6
If there is a lighting effect on the object lying on the lower layer, simulate the light on a new background using the Lighting Effects filter. To work correctly with this filter, use the Shift + Ctrl + Alt + E combination to create an imprint of the visible layers of the document. Open the Lighting Effects settings with the Render option in the Filter menu and adjust the layer lighting so that it blends naturally with the light in the picture from the lower layer.
Step 7
As a result of filter processing, an object inserted on a new background was illuminated twice. To fix this, add a mask to the light layer. Load the selection from the mask on the layer with the background image by clicking on the mask icon while holding down the Ctrl key. Press Shift + Ctrl + I to invert the selection so that it encloses only the object. Turn on the Paint Bucket tool, and with the Opacity set to twenty percent, fill the selection on the lighting mask with black. If the light on the object remains too bright, reapply the Paint Bucket.
Step 8
You can add a shadow to the new background, which casts the object pasted on it. To do this, use the Ctrl + Shift + N keys to add a new layer to the collage. Load the selection from the background mask, invert it and fill it with black on a new layer. Remove the selection with Ctrl + D. Change the shape of the shadow using the Distort option of the Transform group of the Edit menu. Make the shadow transparent by adjusting the Opacity for its layer.
Step 9
To save a file with all layers use the Save As option of the File menu and select the psd format. You can get a one-layer image by saving the document as a.jpg"


