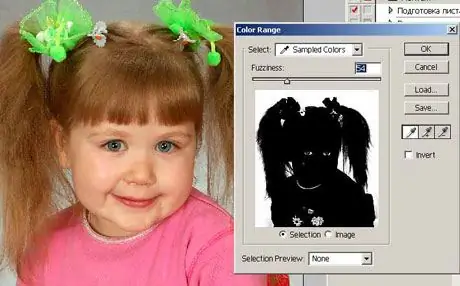
It is quite easy to cut out a simple object with a uniform structure and an even outline in Photoshop from the background. Usually, beginners use the rectangular or magnetic lasso tool for this. However, the lasso method is not sufficient in cases where the object has a complex structure - for example, if you want to place a photograph of yourself with flying strands of hair on a new background that cannot be cut out from the background neatly with just a rectangular lasso. In order to accurately and realistically extract a complex shape from the background, you need to learn how to work with channels.

Instructions
Step 1
Open in Photoshop the photo from which you want to crop the image of the person. After that open the Channels palette next to the layers palette. If the panel with channels is not in the program window, open the Window menu and check the Channels item.
Step 2
Click on all channels from the list and mark on which channel the image of a person has the most contrast in relation to the background. Typically, this contrast channel is Blue. Duplicate this channel and then press the O key to select the dodge tool.
Step 3
You can also select the tool by clicking the Dodge icon on the toolbar. Set the exposure to 100% and the range to Light. Using the highlight tool, outline the background around the human figure, leaving small fragments of it at the edges and outlines of the torso, head and hair.
Step 4
Then reduce the exposure to 15% and carefully remove the background remnants around the person, touching the outlines and edges, and reducing the size of the brush.
Step 5
Now select the brush tool (Brush), give it a small size and sufficient hardness, and, choosing black on the palette, paint over completely the shape and face of the person in the photo, without getting close to the edges.
Step 6
Set the Mode value in the brush settings to Overlay. Brush hardness should be 0% - outline with it the edges that are left untreated.
Step 7
Carefully trace the strands of hair, making them realistic and detailed. To do this, change the opacity and size of the brush. Holding down the Ctrl key, click on the copy of the blue channel, and then invert the image (Ctrl + Shift + I). After that, click on the RGB channel in the list to load a full color image.
Step 8
Create a new layer and then attach a vector layer mask. The selection that you made in the blue channel will be loaded as a mask, and the background in the main photo will be removed.


