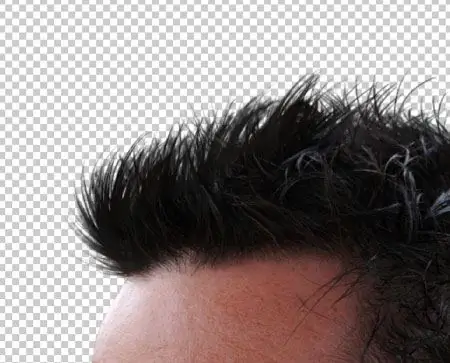
Often, to edit a photo or create a photo collage, the author of the photo may need to transfer the person's image to a new background. However, when an object has a complex outline, for example, if you want to cut out the figure of a person with flowing hair, the usual methods of cutting an object from the background (for example, the Lasso Tool) may not work. In this case, a simple technique for cutting out a complex object in Photoshop will help you.

Instructions
Step 1
Load in Photoshop the desired photo with a complex contour with many halftones, and then click on the Channels palette. Alternately click on all the channels in the palette to determine which channel is the most contrasting. This is usually the Blue channel.
Step 2
Duplicate the blue channel by dragging it manually onto the blank sheet icon, then, staying on the copy of the channel, select the Dodge option from the toolbar and set the appropriate luminance range and exposure to 100%.
Step 3
On the copy of the blue channel, carefully outline the background with the Dodge tool, without touching the outline of the object you want to cut. Decrease the exposure of the clarifier to 15-30% and, increasing the scale of the image, outline the contour of the object with the clarifier, especially carefully and carefully processing problematic fragments of the contour (for example, hair). For such areas, reduce the size of the clarifier to a minimum so as not to lose the desired details of the photo.
Step 4
Now select the Brush Tool from the toolbar, set the hardness to maximum and select black on the palette. From the inside, paint over the silhouette of the object you want to cut completely with a black brush, without getting too close to the edges.
Step 5
Change the Blending Mode in the brush settings from Normal to Overlay, set the brush hardness to zero, and then stroke the edges, carefully repeating the contours of the complex elements with a semi-transparent brush of a small size. Click on the copy of the channel while holding down the Ctrl key to select it.
Step 6
Convert the selection by pressing Ctrl + Shift + I and then click on the RGB channel to load the photo in full color. On the Layers palette, create a duplicate of the main layer and add a layer mask to it. After that, the background around the object will disappear, and you can use the object for your own purposes.


