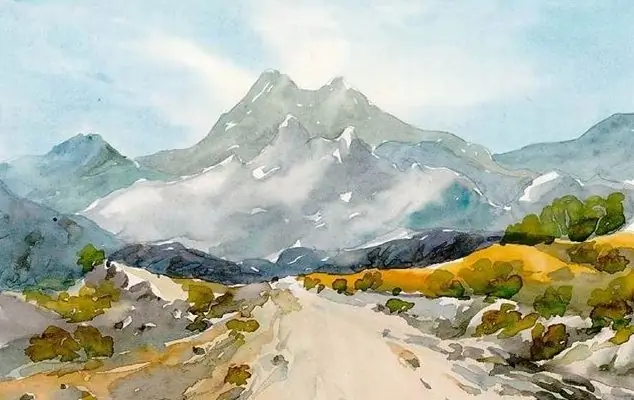
The unique landscapes of the mountainous terrain are mesmerizing to the eye. Therefore, it is quite natural for many novice artists to want to learn how to paint mountains. They can be drawn in stages using a simple pencil, paints and felt-tip pens.
Instructions
Step 1
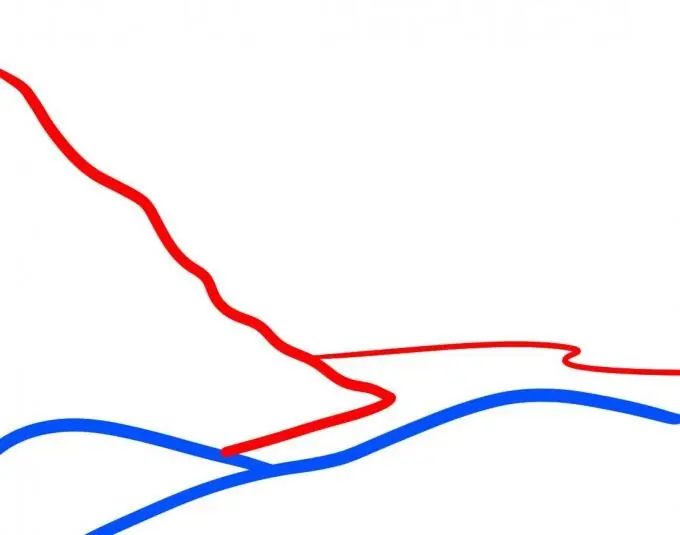
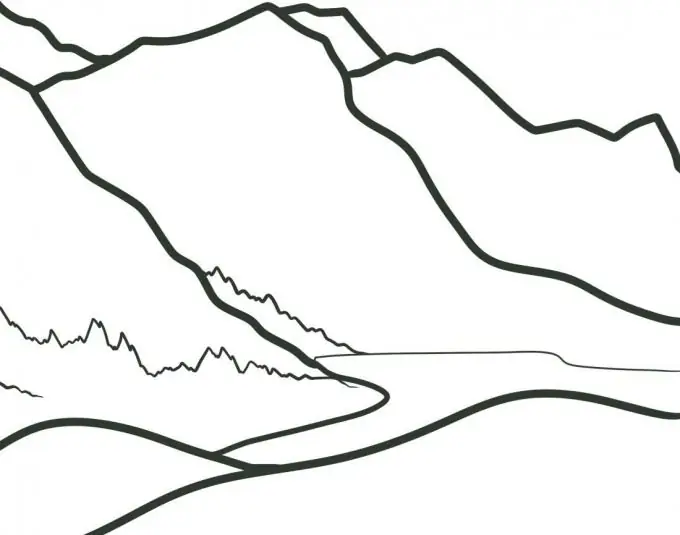
Divide the sheet into three parts visually. Draw two wavy lines in the lower third of the sheet. One - starting almost from the very edge of the sheet, and the other - make it small, as if covering the top of the unlined part of the drawing.

Step 2
Draw a large mountain on the left and a small body of water on the right side of the sheet. As a rule, mountain rivers descend from high peaks, forming lakes.
Step 3
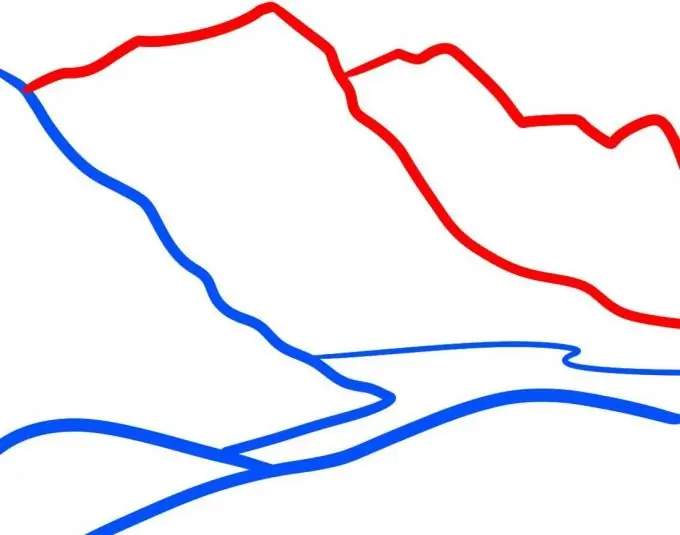
Draw another mountain in the middle of the sheet, as shown in the picture. Add the last part of the mountains. Do not forget. that the lines don't have to be straight. Numerous bends and sharp corners are an integral part of the mountainous terrain.
Step 4
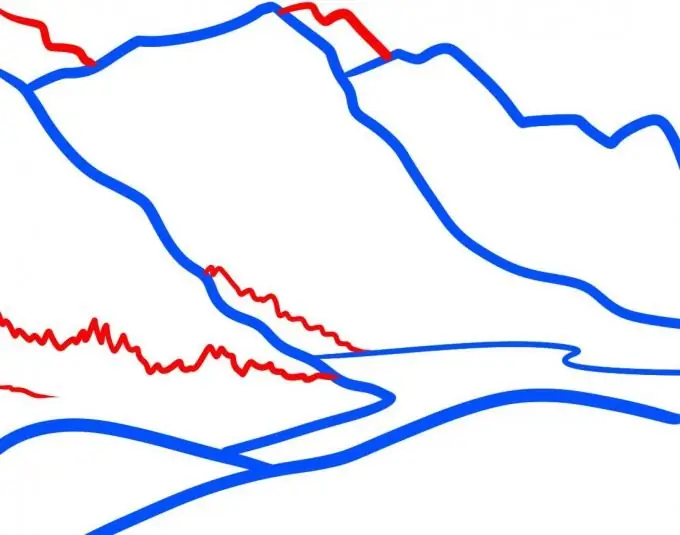
Draw two more small tops in the background. Draw the grass lines at the foot. depict the grassy cover with a small fence.
Step 5
Circle the resulting picture with a pencil more boldly, erase the extra lines with an eraser.
Step 6
Take markers or paints and add paints. For the mountains themselves, use brown, gray shades. Leave unpainted white snow caps at the tops. Make the pond at the foot a bluish blue. Paint the grassy covers with green paints. This is how you managed to draw the mountains in stages.


