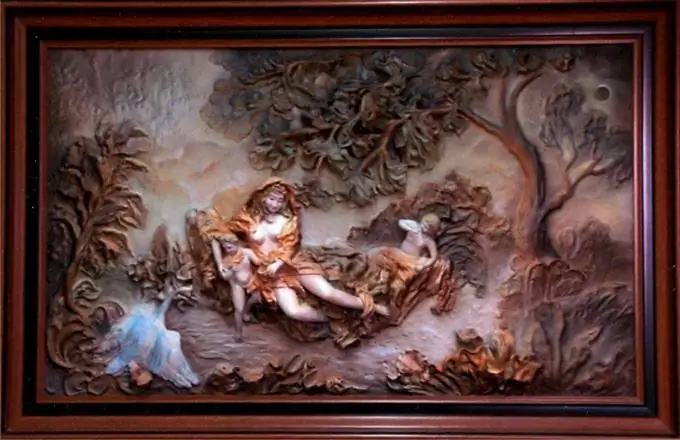
In drawing lessons, we were taught before to use watercolors or gouache to create ordinary drawings. But for a three-dimensional picture, we already need other tools and technologies. It is worth considering the step-by-step mechanism for creating such a work.

It is necessary
- - Drawing paper A4;
- - awl / knife;
- - pencil / paints;
- - glue.
Instructions
Step 1
Take A4 drawing rigid paper. In this case, you will probably be able to make the picture three-dimensional. Mark along the long edges. First 1 cm, then 2 cm. Use an awl for edging, folding and marking. This is a much better option than a regular knife. But sometimes you can get by with a knife!
Step 2
Step 12 cm from the short side and also 1 cm to thicken the picture. Do the same from the sides. Mark and draw fold lines again. Vary the thickness of the frame, as there are no clear standards here. But 2 cm for A4 format is the limit!
Step 3
Check the resulting scan. If it looks like a flat box, you did it right. Remove (shade) all unnecessary and leave a margin for gluing. At this stage, it remains only to outline a sketch of the painting. Do it on the stock side.
Step 4
Turn it over with the other side, outline the "screen" on each side by 1 cm. Then apply all your imagination for your creation. Come up with a plot, sketch, and most importantly, decide what to remove and what to leave. Try to "hook" some details on the main sketch of your composition. It can be a person or nature. It so happens that many details fail. In this case, it is important to make "props" inside. Remove any excess with a utility knife.
Step 5
Glue a contrasting background and glue the entire resulting picture. If you do this with PVA glue, be careful - it will spread over the paper. Buy a better quality glue stick. The plot of your work can consist of several layers. Don't feel too difficult. Just use your imagination!
Step 6
Practice first in creating similar pictures on the plane. It's much easier to think over the plot of the picture. And only then follow the steps described above.


