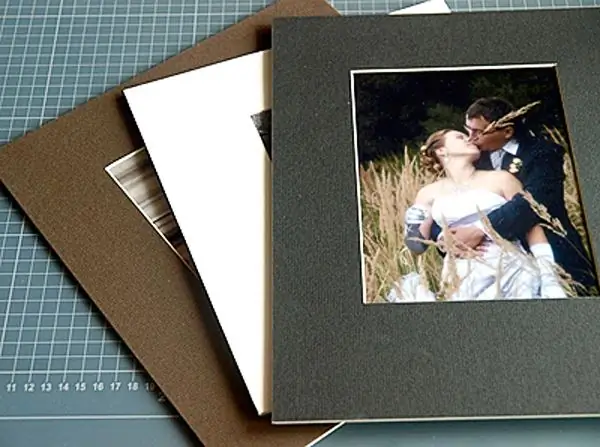
Any painting or embroidery, even the simplest one, can decorate the interior of your home if you choose the right design for it. Very often, paintings are made out in a mat - a wide frame that frames the image, emphasizes its color scheme and focuses the viewer's attention on the atmosphere of the painting. It is not difficult to make a mat that fits both the painting and your interior - for this you need a cotton cloth of the desired color, cardboard or colored paper.

It is necessary
- - cotton fabric,
- - cardboard / colored paper,
- - a sharp knife,
- - double sided tape.
Instructions
Step 1
Cut a rectangle out of thick cardboard, having previously measured the frame in which the mat will be located. Mark the center point of the rectangle and mark on the back side the outline of the window in which the picture will be located.
Step 2
Measure the parameters of the picture and make a window in accordance with them, reducing the size by 1-2 mm. For the window, draw an even square or rectangle, depending on the shape of the picture, connect the opposite corners of the square with lines so that they cross in the center, and start cutting the cardboard along these lines with a breadboard knife.
Step 3
Having cut the intersecting lines, cut off the excess cardboard by running a sharp knife along the ruler along the drawn edges of the future window, placing a sheet of plywood or fiberboard under the cardboard.
Step 4
Cover the resulting cardboard frame with designer paper or fabric that matches the color scheme to the picture and your interior, and then fold the edge of the fabric or paper inward so that the frame is even and neat.
Step 5
In order to secure the mat, you can use double-sided tape. To do this, attach the mat to the sheet adjacent to the frame, and mark with a pencil a rectangle that is equal to the hole in the mat. Beyond the lines of this rectangle, apply double-sided tape. Carefully place the design on a sheet of double-sided tape and press firmly.
Step 6
After alternately folding together the entire structure of the picture - glass, mat, drawing and back cardboard frame - stick ordinary tape on all four sides of the glass and press it firmly on both the front and back sides. After that, place the picture in a frame, behind it the tape will not be visible.
Step 7
Do not overdo it with the brightness of the matte frame colors - black and white colors can create an incorrect perception of the finished painting, placed inside, and all other colors should be chosen so that they do not distract attention from the main content of the painting.
Step 8
Make sure that the picture and the frame are harmoniously combined and perceived as a whole. The tone of the frame should be calm and muted, corresponding to the scale of the picture or some element of the picture.


