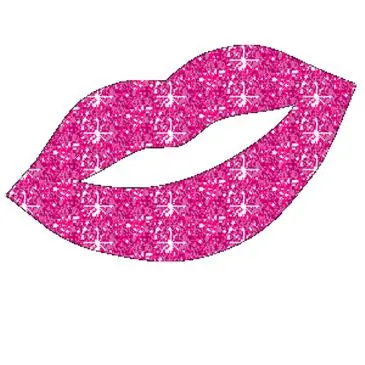
Surely you have noticed more than once on forums, blogs and other sites pictures that are beautifully iridescent, shiny and sparkling, and wondered how to give such a sparkle to any picture that you love, and would also like to post it on the forum? The universal graphic editor Adobe Photoshop will help to decorate the image. Even a novice user of the program can make a brilliant drawing in it.

Instructions
Step 1
In Photoshop, open the picture you need, carefully cut from the background beforehand. Duplicate the layer with the loaded image (Duplicate layer), and then open the Filter menu and open the Noise section. Click Add Noise to add a noise effect to the layer.
Step 2
Set the appropriate values for the noise by trying different parameters and observing the changes in the preview image. Once you've found your optimal noise level as a percentage, click OK.
Step 3
If you wish, you can create a couple more duplicates of the original layer and add noise to them in the same way, specifying other parameters - in one layer, make a little less noise than in the previous one, and in the other - a little more. Create two new empty layers (Add layer).
Step 4
On one of the empty layers, take a 3px or slightly larger pencil or brush tool and start painting white, large glitter dots in a random pattern.
Step 5
Then activate the second empty layer, take a thinner pencil and apply small white dots on the drawing in random order with the same white color.
Step 6
Use a flash cross brush to simulate highlights and flares. You can download it from the network, or you can draw it yourself and set it as a brush (Edit> Define as brush). With the highlight brush, choosing white, click on the created points, decreasing and increasing its size on two different layers. The highlights can be slightly rotated for more variety in the pattern.
Step 7
Open File and open the resulting drawing in Image Ready. Open the storyboard, which will contain all the layers you created. Distribute the layers in frames so that you get an animation - first make the first two layers visible, then the first glitter layer and the second glitter layer.
Step 8
When you are finished making the animation, click Play and check if you did everything right. The storyboard can be adjusted at any time by specifying the desired time for each frame in seconds. Save the file in.gif"


